Have you got to grips with the basic stitches and fancy trying something new? I have just the stitch for you! Why not have a try at the Herringbone stitch…..
The Herringbone treble (UK) ( Double – US terms) stitch is very similar to the standard Treble (UK) / Double (US) stitch, only with a slight difference in the middle which causes the slanting of the stitch.
If you want a little reminder of how to make the Treble crochet stitch (UK terms) / Double crochet stitch (US terms), you can find a tutorial HERE.
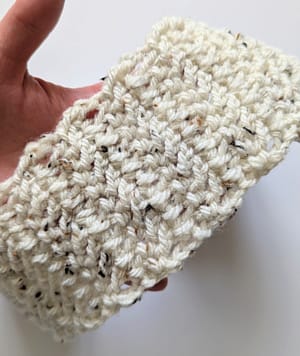
The Herringbone stitch creates such a fantastic and interesting texture, it’s light, but also soft and squishy.
Why not give it a try, here’s how…
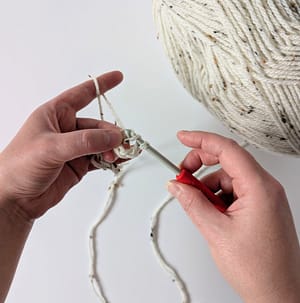
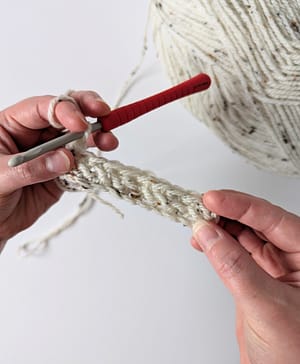
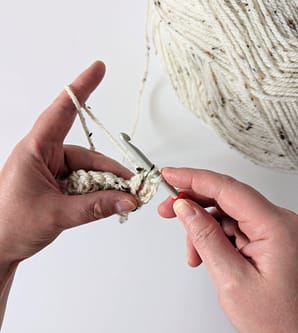
Firstly, take the yarn you want to use and an appropriate size hook, decide how many stitches you want to make, and then make that many chain stitches, plus two more. Here I want to make ten stitches in total, so I have made twelve chain stitches to start.
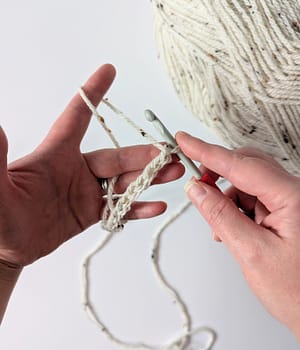
- Yarn over and insert your hook into the fourth chain from the hook (the first three chain stitches count as the first stitch). The fourth chain from the hook in the photograph below is the one just above my thumbnail.
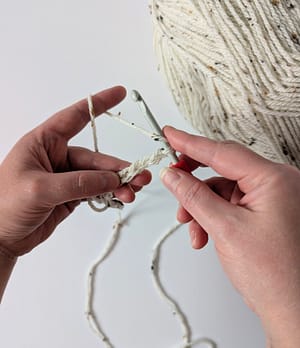
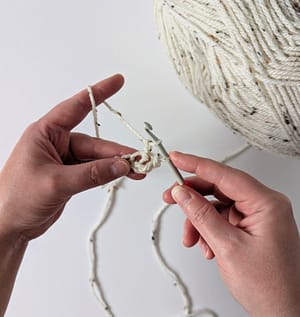
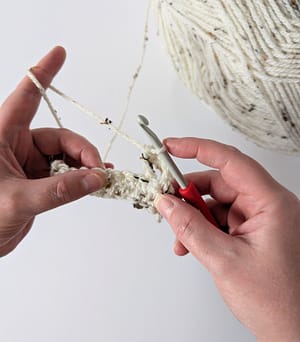
2. Yarn over and pull that loop through the chain stitch
3. You will now have three loops on your hook, don’t yarn over (like you would for a standard Treble (UK terms) / Double (US terms) ), but instead, pull the last loop on the hook (the one you just pulled through the chain stitch), through the middle loop on the hook


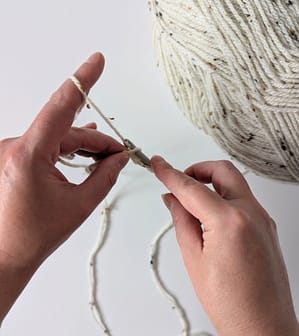
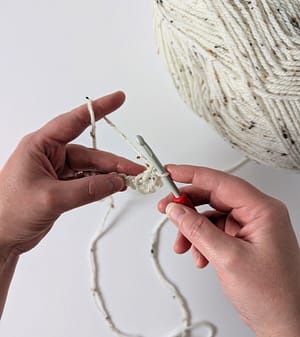
4. You will now have two loops on your hook. Next, yarn over and pull through the first loop on your hook only, so you still have two loops on your hook
5. Then yarn over and pull through both loops on your hook (the same as the final step of a standard Treble (UK terms) / Double (US terms), and that’s your first Herringbone stitch completed, hooray!
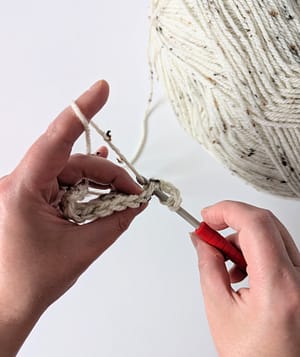
6. Yarn over and insert your hook into the next chain stitch along
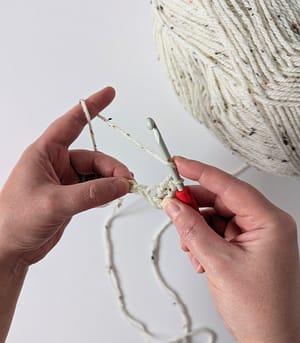
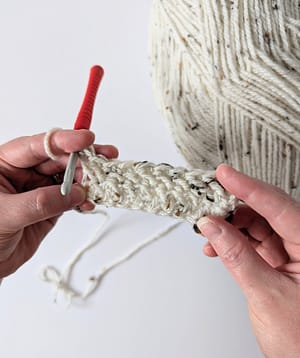
7. Then repeat steps 2 to 6 until you have made a Herringbone stitch in every chain stitch. The first row is now complete
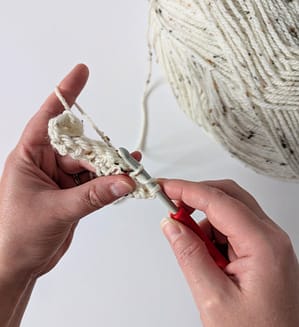
8. Turn your work as usual to work the new row. Make three chains, which are standing chains and these will count as the first stitch

9. As the standing chains count as the first stitch, you miss the stitch at the bottom of the standing chain, and yarn over and insert your hook into the next stitch along
10. Yarn over and pull through the stitch, (you will have three loops on your hook)
11. Pull the last loop (the one you just pulled through), through the middle loop on your hook, so you now have two loops on your hook
12. Yarn over and pull through the first loop only on your hook, so you still have two loops on your hook.
13. Yarn over and pull through both loops on your hook.
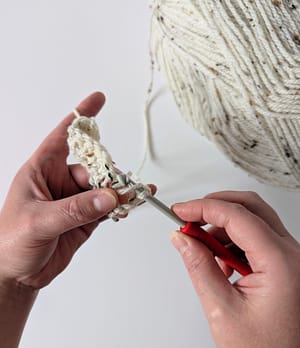
14. Yarn over and insert your hook into the next stitch, and repeat steps 10 to 13 to make the next stitch, and then keep repeating until you have made a Herringbone stitch in every stitch to the end of the row – remembering the last stitch is made in the three standing chain from the row below
Keep going until you have made the length you desire!
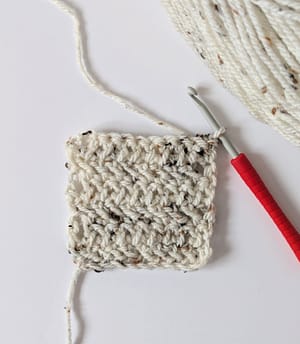
It’s such a fantastic texture I love it!
Let me know how you get on!
If you would like a copy of my beginners guide to crochet – which covers the basic stitches to get you started! You can get a copy HERE, or fill out your details below, just hop onto my mailing list and the PDF will be emailed straight over to you!