I’m a big fan of the stars, there’s just something about them that is so magical! Put stars and crochet together and you get something amazing – or very super cute!
A little crochet star is the perfect way to practice all the basic stitches that you have been learning and put them all toghether to make something amazing.
This straightforward and easy to follow star pattern includes the following stitches, but if you need a reminder of to how to complete these stitches just click the links below:
Single crochet stitch (US terms) / Double crochet stitch (UK terms)
Half Double crochet stitch (US terms) / Half Treble crochet stitch (UK terms)
Double crochet stitch (US terms) / Treble crochet stitch (UK terms)
Onto the pattern – to make things easier I’ve separated out the pattern into both UK and US terms, so just follow the pattern using the terms you are most familiar with. I’ve written the pattern out first if you are used to reading patterns, but if not don’t worry (I got you!) I have put step photos with all the instructions after…
Crochet Star Pattern
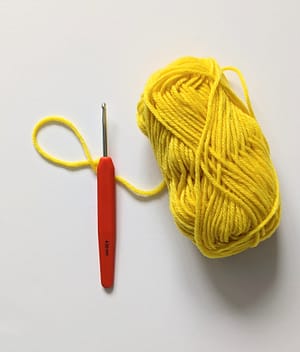
What you’ll need
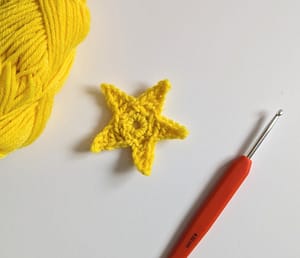
- Your yarn of choice and an appropriate size hook (for my star I’ve used some DK weight yarn I had and a 4mm crochet hook)
- Scissors
- Yarn needle for weaving in the end
Pattern in full
US terms
Abbreviations
- ch = chain
- dc = double crochet
- hdc = half double crochet
- sc = single crochet
- sl st = slip stitch
- st(s) = stitch(es)
Foundation Round: Make 4ch, and sl st in fourth ch from hook to form a ring
Round 1: 1ch (does not count as a st), 10sc in the ring, sl st in first sc to join
Round 2: *5ch, now work back down the ch, 1sl st in second ch from hook, 1sc in next ch, 1hdc in next ch, 1dc in next ch, now work back in round 1, miss next st, 1sc in next st; rep from * four more times, (remember there will be the sl st from the end of round 1, but this does not count as a st), sl st at base of first 5ch to join
Cut the yarn, fasten off and weave in the ends.
UK terms
Abbreviations
- ch = chain
- dc = double crochet
- htr = half treble crochet
- sl st = slip stitch
- st(s) = stitch(es)
- tr = treble crochet
Foundation Round: Make 4ch, and sl st in fourth ch from hook to form a ring
Round 1: 1ch (does not count as a st), 10dc in the ring, sl st in first dc to join
Round 2: *5ch, now work back down the ch, 1sl st in second ch from hook, 1dc in next ch, 1htr in next ch, 1tr in next ch, now work back in round 1, miss next st, 1dc in next st; rep from * four more times, (remember there will be the sl st from the end of round 1, but this does not count as a st), sl st at base of first 5ch to join
Cut the yarn, fasten off and weave in the ends.
Step by step pictures
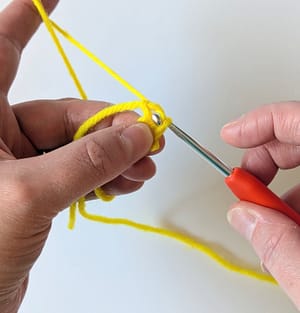
1. Start by making four chain stitches
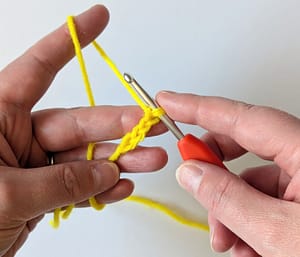
2. Then make a slip stitch in the fourth chain from the hook (the first chain stitch you made), to make a slip stitch; insert your hook into the stitch (the chain stitch),
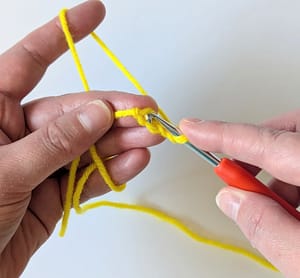
3. Then yarn over and pull that loop through the chain stitch
3. Then pull that same loop through the working loop on your hook
4. Now you have made a slip stitch, and this has created a ring with the four chain stitches
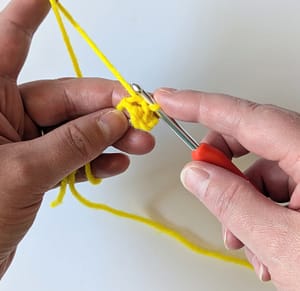
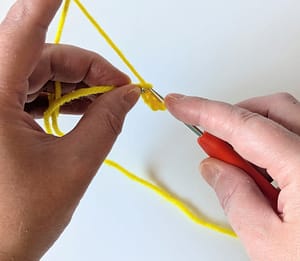
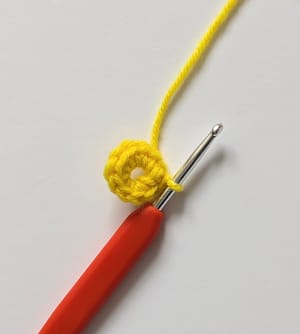
5. Round one is worked into the ring you just made, sometimes it can be tricky to find the centre of the ring, I find that pulling the stitches apart slightly will make it more clear as to where the middle is
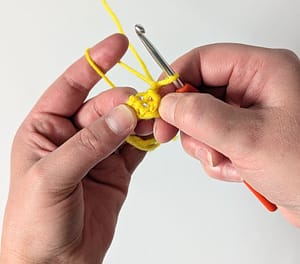
6. Round 1 starts with one chain, this chain stitch does not count as a stitch but just gives you the height needed to work the next round. Then make ten single crochet (US terms) / ten double crochet (UK terms) into the ring
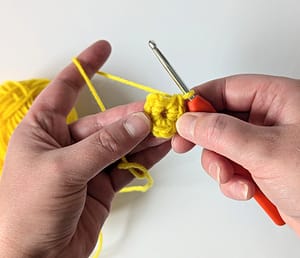
7. To complete Round 1 we need to make a slip stitch into the first stitch to join the round, make a slip stitch in the same way as you did to join the first four chain stitches together; insert your hook into the stitch (the first stitch of round 1), yarn over and pull that loop through the stitch and then pull it through the working loop on your hook
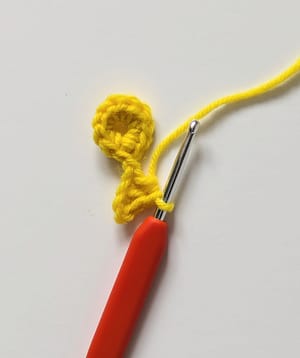
8. Now let’s work Round 2 (the points of the star!), we begin round 2 by making five chain stitches
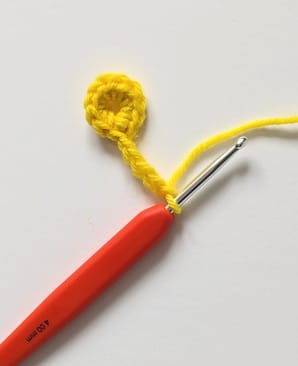
9. To make the point we are going to work into the chain stitches that you have just made, firstly make a slip stitch into the second chain from the hook
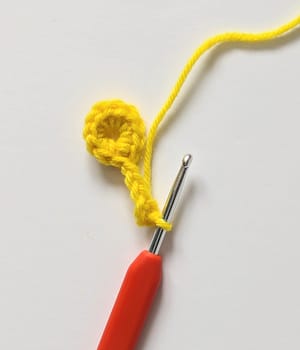
10. Then make a single crochet (US terms) / double crochet (UK terms) into the next chain stitch
11. Next make a half double crochet (US terms) / half treble crochet (UK terms) into the next chain stitch
12. Lastly, make a double crochet (US terms) / treble crochet (UK terms) into the last chain stitch, and that is the first star point

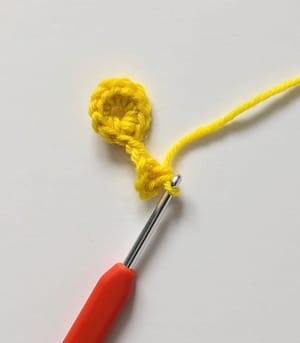
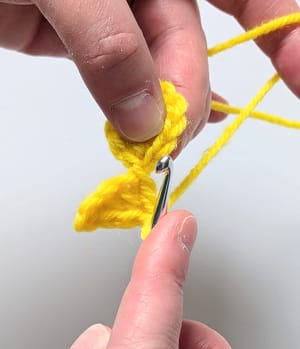
13. Now to secure the point to the centre of the star, we are going to miss the next stitch from round 1, and make a single crochet (US terms) / double crochet (UK terms) into the next stitch from round 1
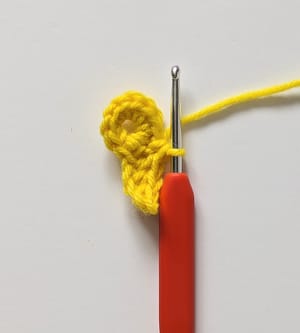
14. The first star point is complete! Yeay!
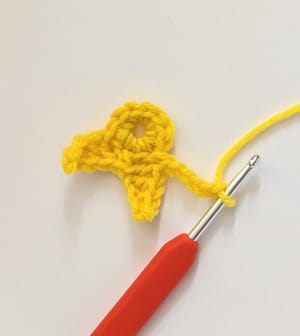
15. Repeat steps 8 to 13 four more times to create the five points of the star
16. When you have finished the fifth and final star point you will be back at the start of the round, remember there will be a slip stitch from the end of round 1, but this does not count as a stitch
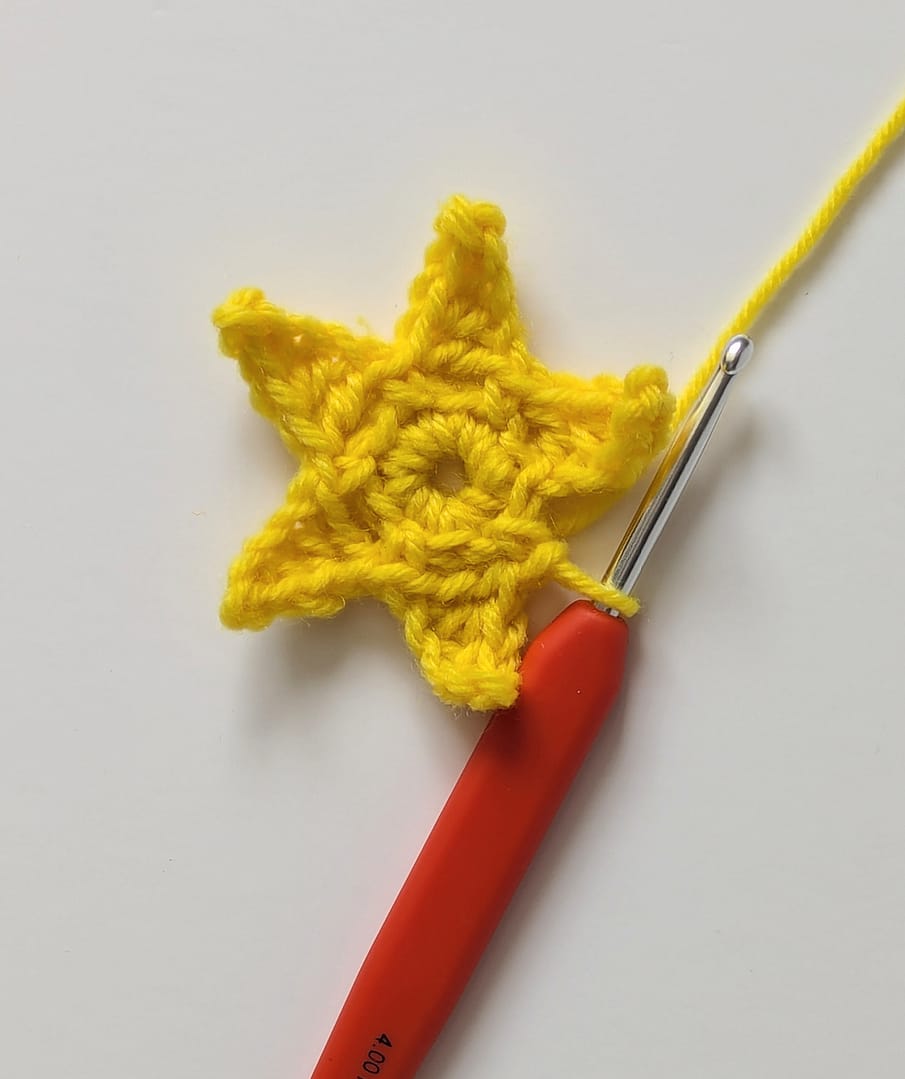
17. I like to join round 2 by making a slip stitch at the base of the first five chains you made (the base of the first star point), then cut the yarn and pull the last loop to fasten off
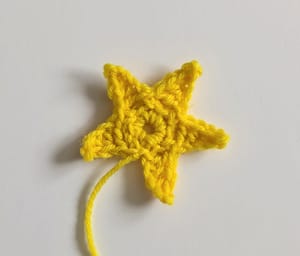
18. Weave in the end with your yarn needle and there you have it! A beautiful crochet star!
This cute little star can be used however you wish, it can be used to decorate other things, or you could make many stars and turn them into a garland, or just enjoy it as it is!
Let me know if you have any questions at all! Happy crocheting!