I do love a granny square, and one of the many things I love about granny squares is how versatile they are and how they can be used to make so many things!
Following on from my super quick and easy granny square tutorial, I figured a great ‘next step’ would be to make a super easy and straight forward granny square bag!
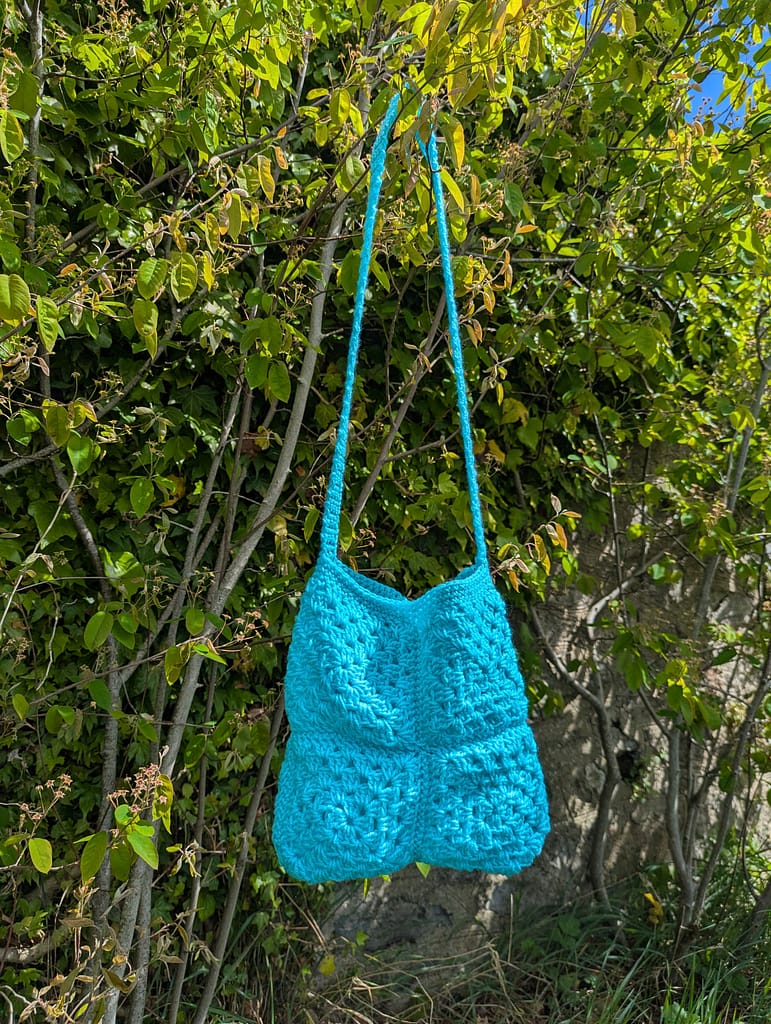
This super quick and easy bag is really straightforward, and made with eight granny squares in total, which are then joined together, and the top edge crocheted and a super simple strap made.
Here’s the pattern….
What you’ll need
- 1 x 100g ball of Stylecraft Special DK – I used Aquamarine (2187)
- 3.5mm crochet hook
- scissors
- yarn needle – for weaving in the yarn ends
Steps
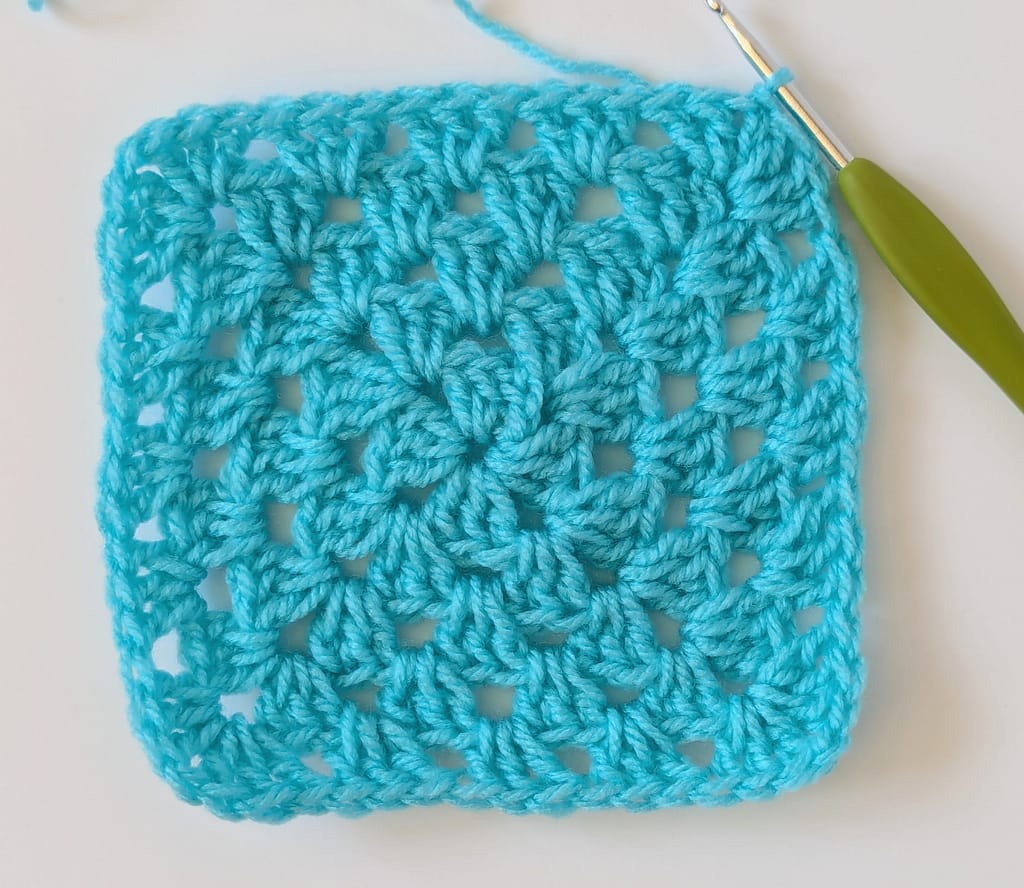
- Make eight granny squares as per my granny square tutorial
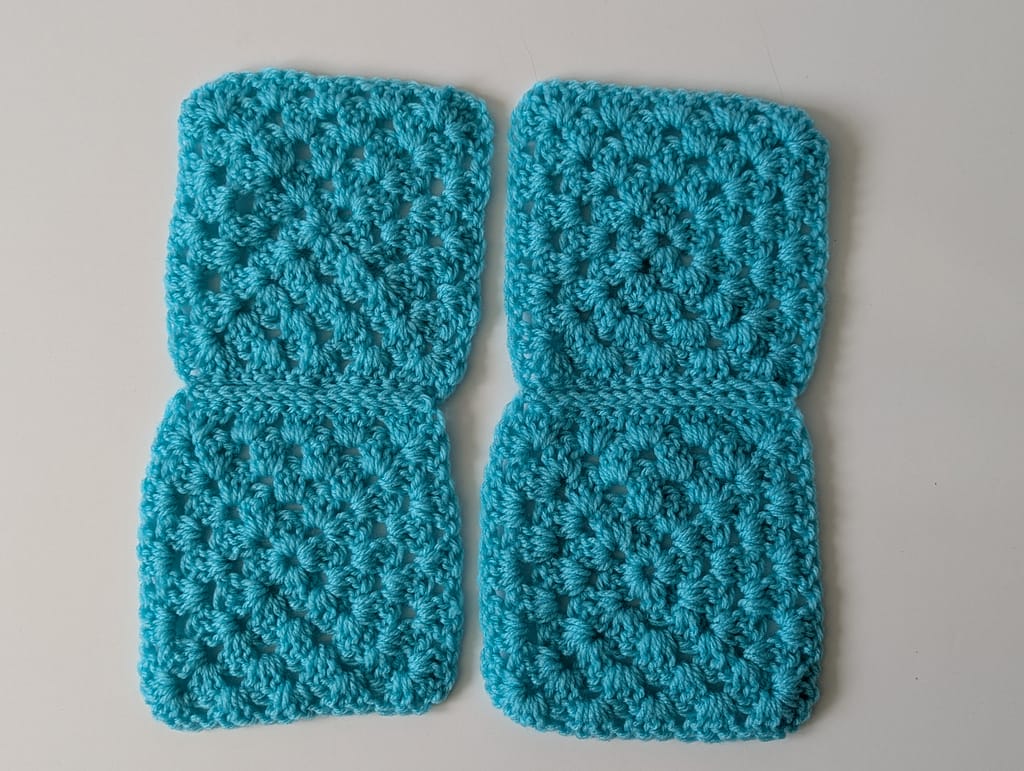
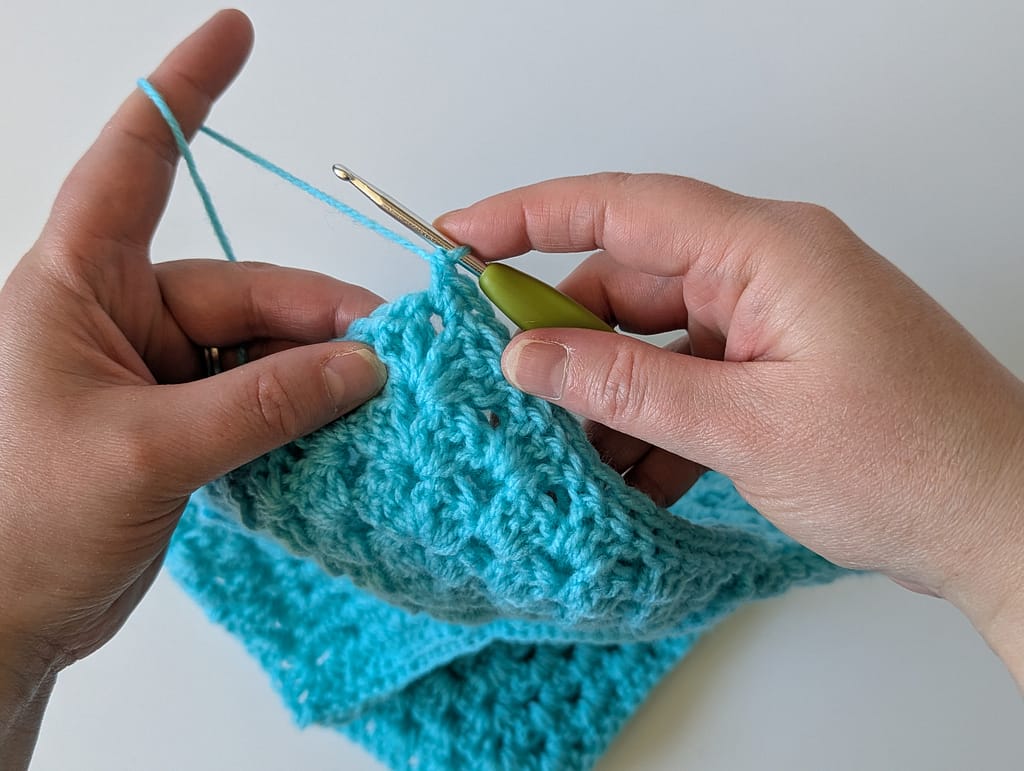
2. Now we’re going to join the eight squares together. Start by joining two. Place two granny squares with the Right sides facing together, i.e. the wrong sides facing out. Make a slip knot and place it on your hook. Insert your hook through any corner 1chain-space hole of the first square and then insert your hook through any corner 1chain-space of the second square.
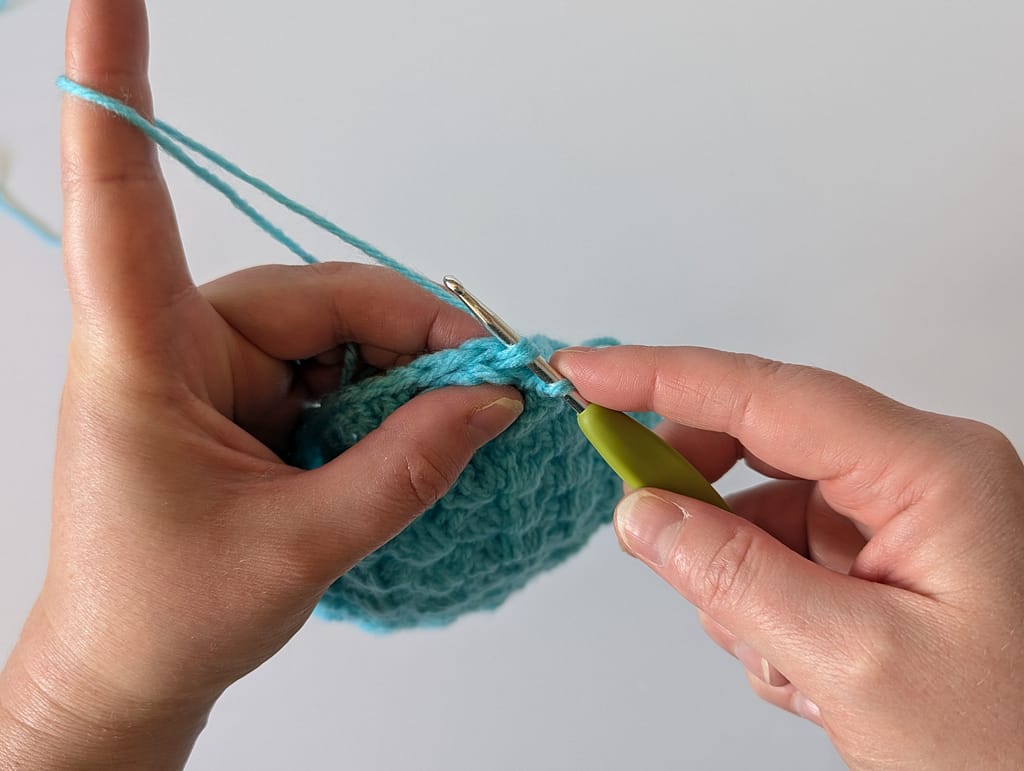
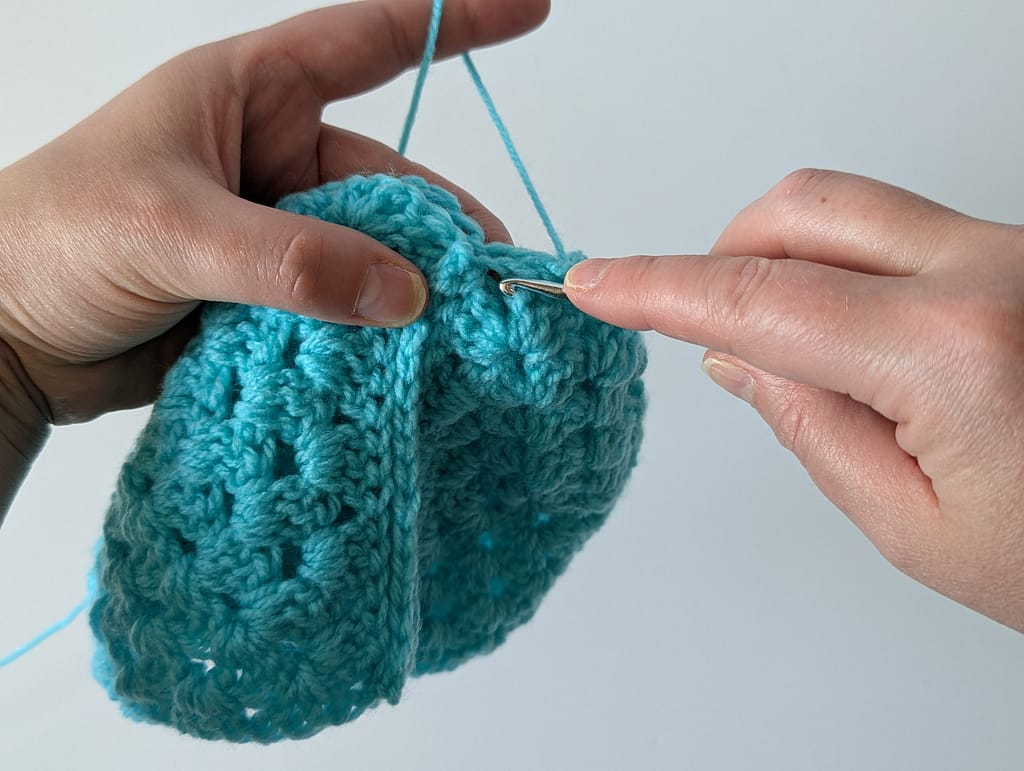
3. Now make a Single crochet (US terms) / Double crochet (UK) terms, as you normally would (yarn over and pull a loop through, yarn over and pull the yarn through both the loops on your hook).
4. Then insert your hook through the back loop only of the next stitch across of the front square, and then through the back loop only of the next stitch across on the second square, and again make a Single crochet (US terms) / Double crochet (UK terms) as you normally would.
If you need a reminder as to how to make a single crochet (US terms) / Double crochet (UK terms) follow the link to my tutorial HERE.
5. Repeat Step 3 all the way across the side of the squares until you reach the next corner 1chain-space, insert your hook through both the corner 1chain-space of the front square and the corner 1chain-space of the back square and make a Single (US terms) / Double (UK terms) crochet stitch.
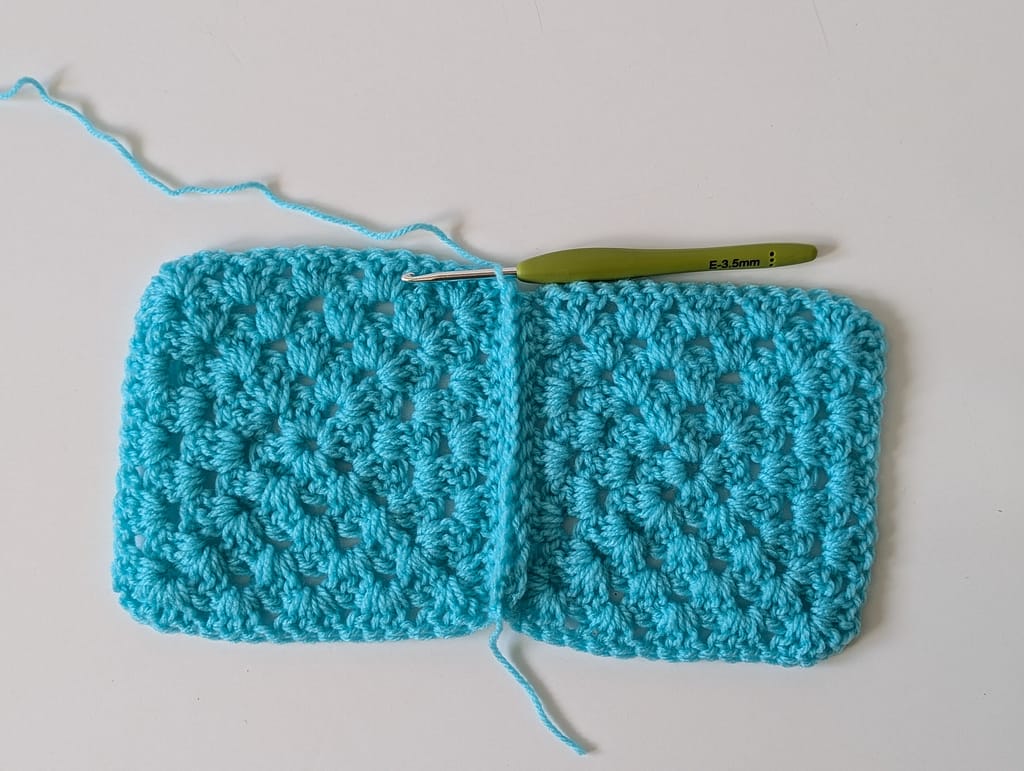
5. You have now joined two squares! (Yeay!) Cut the yarn and weave in the ends (honestly, do it now otherwise you’ll have to weave them in at the end and nobody enjoys that!). Repeat steps 2 to 5 with two more separate squares, so you have joined together two more squares.
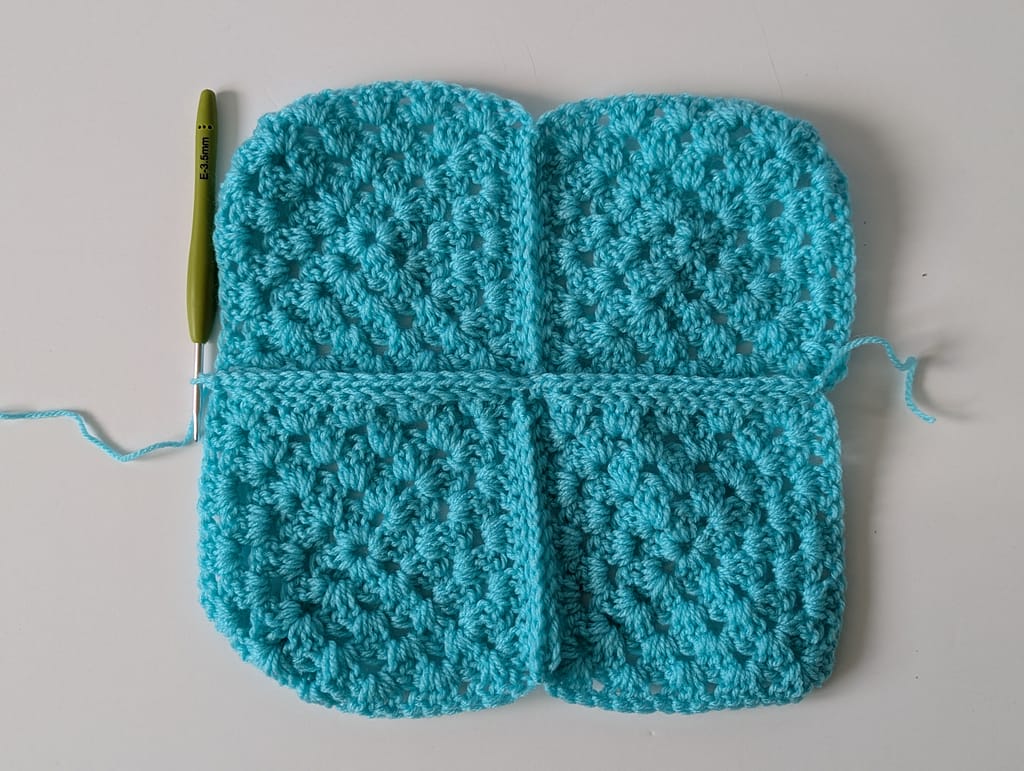
6. Now we are going to join these four squares together. Line the two rows of two squares together, again so the right sides are facing together and the wrong side is facing out.

7. Make a single (US terms) / double (UK terms) crochet stitch in the top right corner 1chain-space working through both layers (as you did when you joined the first two squares together), and then continue along the first square until you reach the middle corner 1chain-space, make a single (US terms) / double (UK terms) crochet stitch in the corner 1chain-space of the first square, and then make another single (US terms) / double (UK terms) crochet stitch in the corner 1chain-space of the two second squares.
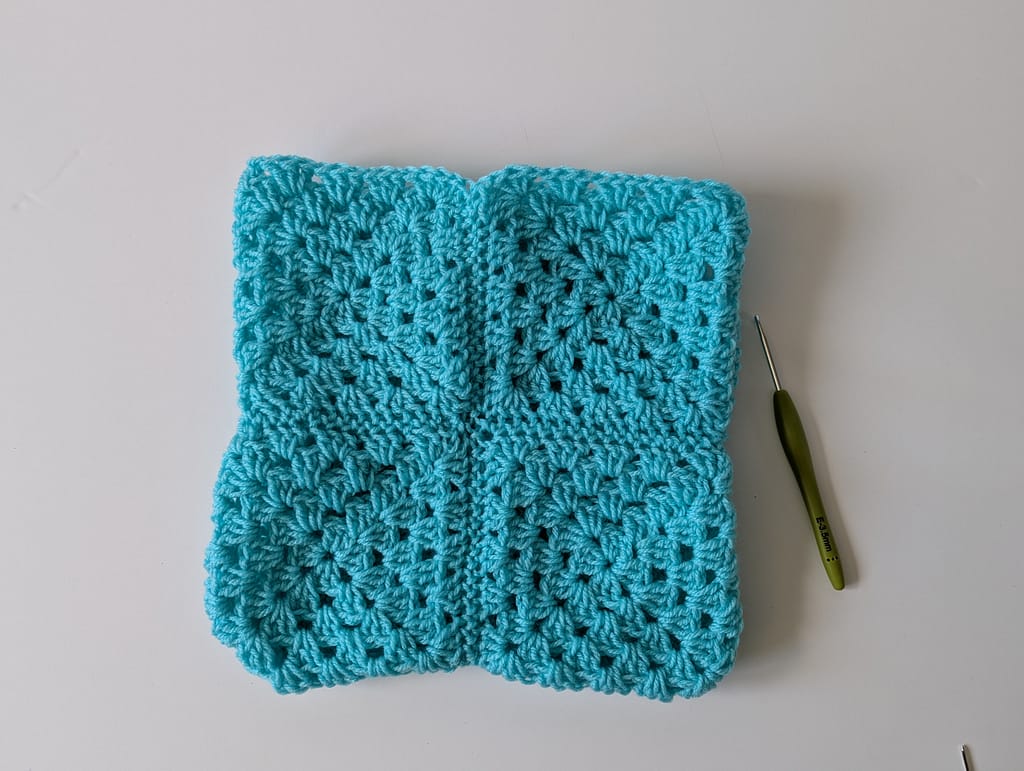
8. Continue making single (US terms) / double (UK terms) crochet stitches along the edge of the second square in the same way as you have been doing until you reach the next corner 1chain-space of the second square. Make one last single (US terms) / double (UK terms) crochet stitch in the last corner 1chain-space, and you now have four joined squares! (Amazing!) Weave in the ends and give yourself a pat on the back!
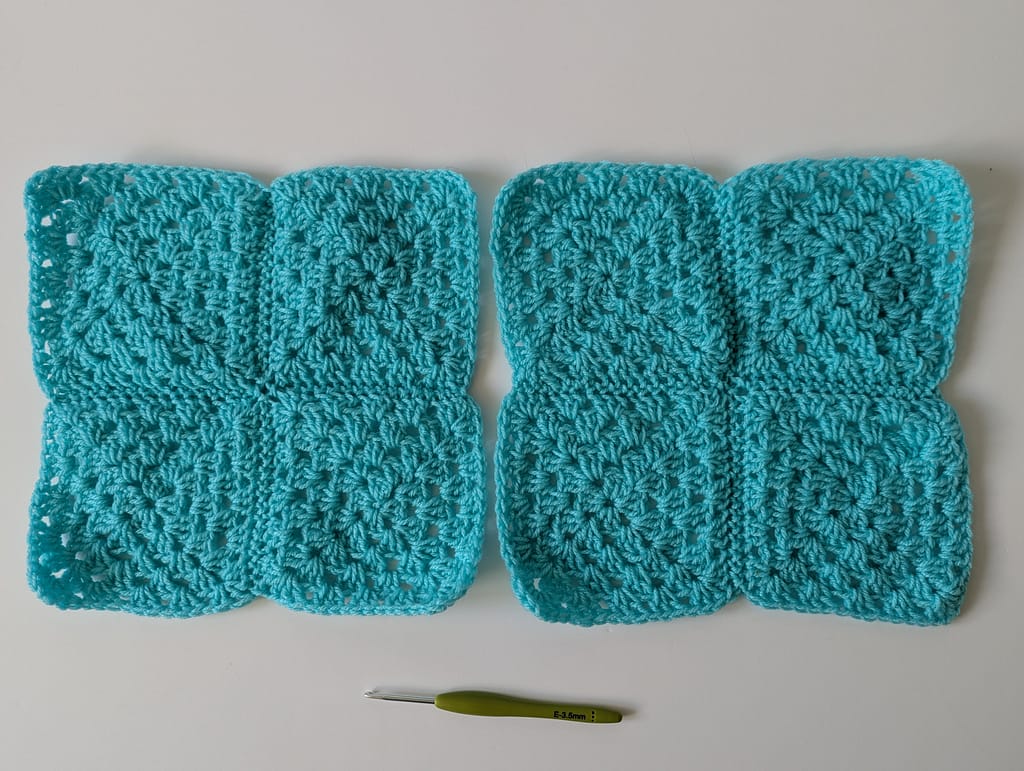
9. Now repeat Steps 2 to 8 to join the other four granny squares together, so you now have two squares (made up of 4 granny squares each).
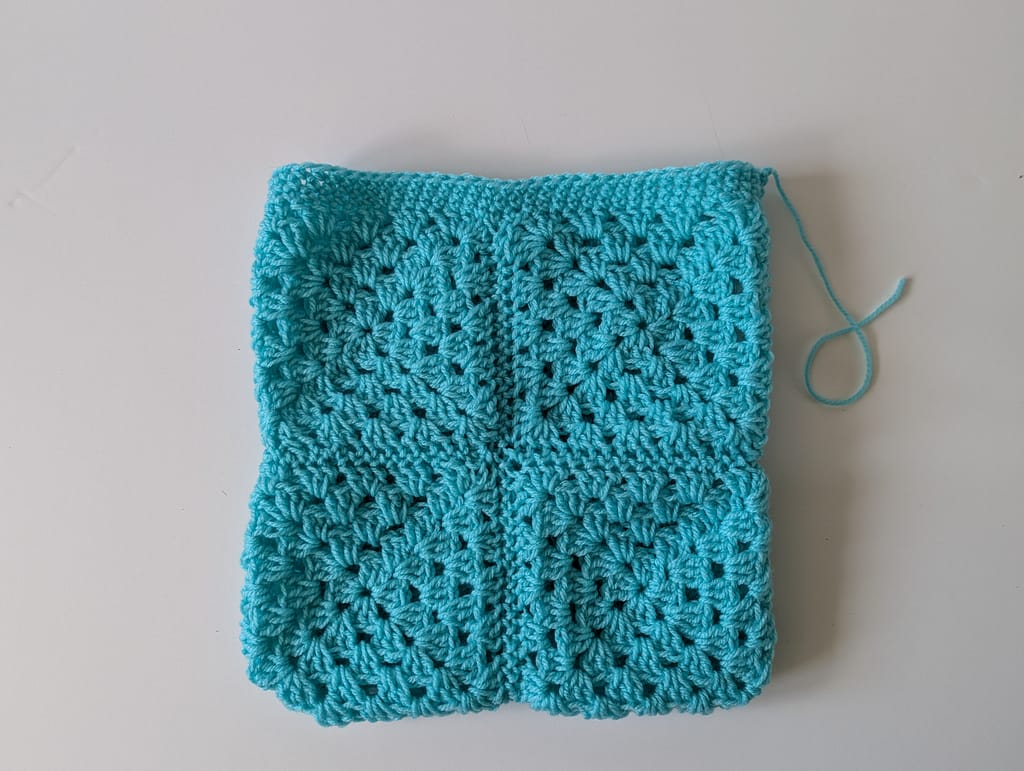
10. Now we’re going to join those two big squares together in the same way, and this will form the main body of the bag. Place the two big squares right sides together, and join the yarn in the same way in one corner 1chain-space, again ensuring you are working through both layers.

11. Continue to make single (US terms) / double (UK terms) crochet stitches through both layers of the large squares in the same way as before until you reach the next corner 1chain-space, because we are going to now continue along the second edge, make three single (US terms) / double (UK terms) crochet stitches in the corner 1chain-space – this will help with spacing of the border stitches.
12. Continue to join the second edge together with single (US terms) / double (UK terms) crochet stitches, and then make 3 stitches in the second corner 1chain-space, continue to join the third edge together in the same way (so now three sides of the large squares are joined together), and cut the yarn, pull the last loop to fasten off. Weave in those pesky yarn ends in again.
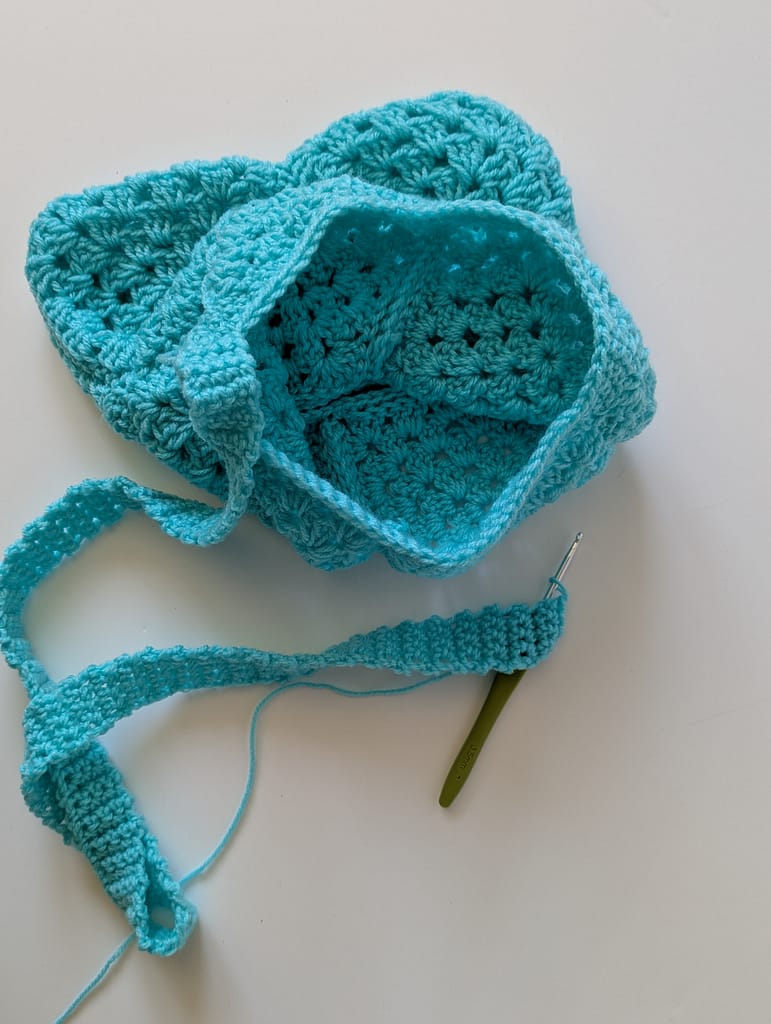
13. Now to make the opening border. Join the yarn to the opening edge of the bag in the corner 1chain-space just after a side seam. Make one chain (this does not count as a stitch here and throughout but just gives height to start the row), and then make one single crochet (US terms) / one double crochet (UK terms) in each stitch all the way round the top opening of the bag, across all four squares, then join the round with a slip stitch.
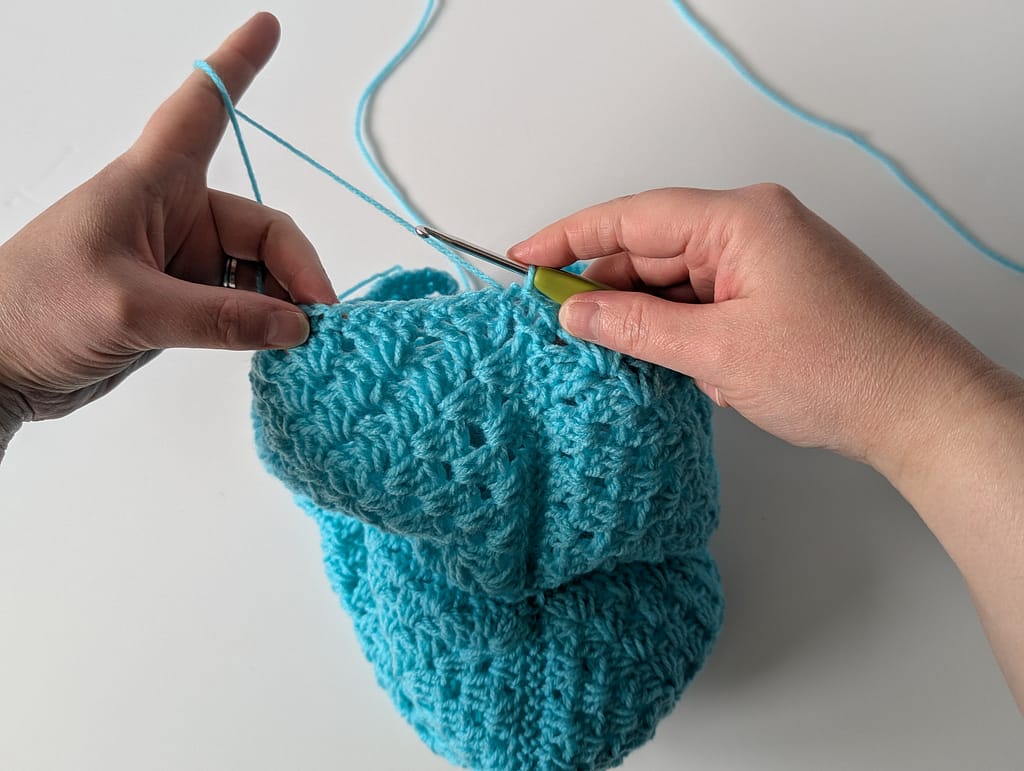
14. Make one chain, and one single crochet (US terms) / one double crochet (UK terms) in each stitch around again, and join the round with a slip stitch in the first stitch. Repeat this step once more so you now have three rows of single crochet (US terms) / double crochet (UK terms), cut the yarn, fasten off and weave in the end.
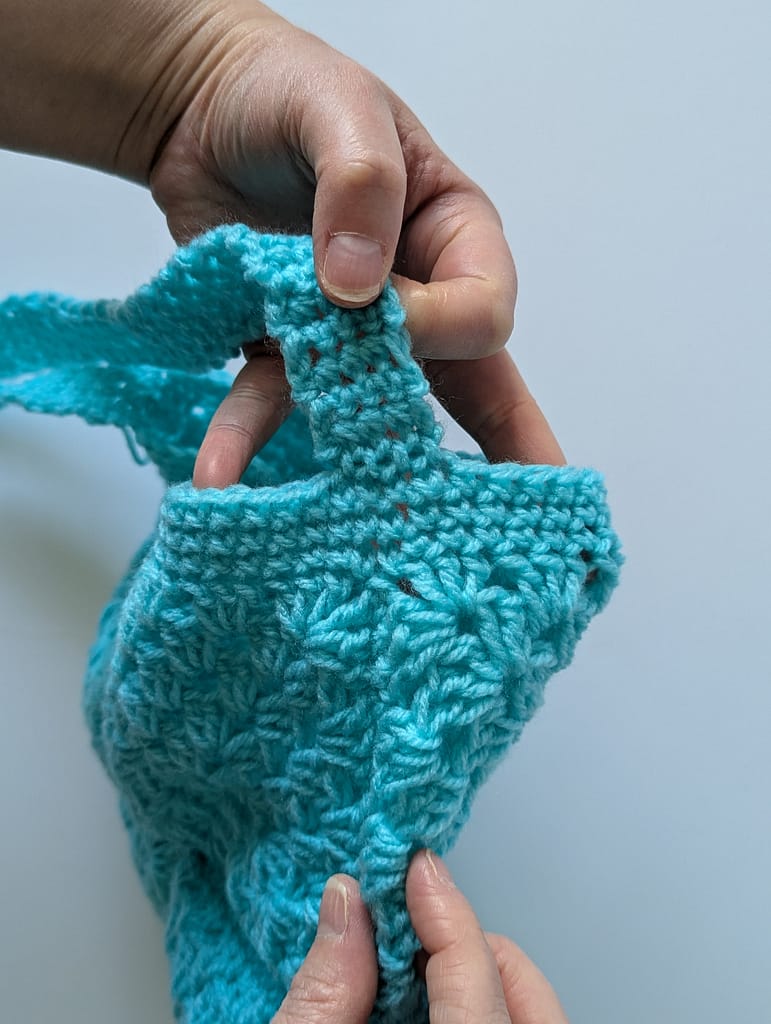
15. Now to make the strap. Join the yarn two stitches before where the last round joined, make one chain, and make four single crochet (US terms) / double crochet (UK terms) stitches – two before the join and two after the join.
16. Turn your work, make one chain and then four single (US terms) / double (UK terms) crochet stitches. Repeat this step as many times as you would like to make the strap whatever length you desire. I made my strap 85cm long, but be warned it will stretch when you have heavier items in your bag so you may wish to take that into account.
17. Lastly we’re going to join the strap on the other side of the bag (almost there!). Ensure the strap is flat and not twisted, then line the edge of the strap with the other side of the bag (directly opposite), now make four single (US terms) / double (UK terms) crochet stitches through both layers of the strap and the bag. I like to make one more slip stitch through both layers to make sure the strap is extra secure, then cut the yarn, fasten off and weave in those ends!
AMAZING! You made a bag! That’s awesome!
Now you get to enjoy your bag, make sure you take it out and about with you so that people can compliment you on it!!
Let me know how you get on with making your own bag – I’d love to know! ❤️