I LOVE a granny square, I’m not entirely sure why, but I do!
Perhaps it’s because they’re fun to make and super quick and easy and they seem to be everywhere at the moment!
What is a Granny Square?
Ok, super simply, a crochet granny square is essentially just a square of crochet, that is traditionally worked in the round, i.e. you keep on going round and don’t turn your work to work in the opposite direction.
A traditional granny square has the ‘granny stitch’ which is three treble crochets (Double crochets if using US terms) in the same space, worked throughout, but, these days granny squares can be made up with all kinds of different stitches, with extra bits added and appliqued on, as long as it’s in a square shape and crocheted it can be called a granny square.
The great thing about granny squares (apart from them being super quick and easy to make!) is that they are really versatile, and many of them can be put together to make so. many. things! Think coasters, blankets, bags, tops, skirts, hats, scarfs…. they can be the starting point for anything really!
How to make a Granny Square
Follow along this step by step tutorial for how to make a straightforward traditional Granny Square!
In this tutorial, for ease, I’m just going to be using one colour yarn (so you don’t need to worry about changing colour – although if you do don’t worry – just have a look at my how to change colour in crochet tutorial as to how to do this)
For my Granny Square I am using a 3.5mm hook and Stylecraft Special DK yarn in Aquamarine, but you can use any yarn and an appropriate sized hook for your yarn.
This pattern uses Treble Crochet (UK terms) / Double crochet (US terms) and Double crochet (UK Terms) / Single crochet (US terms) follow the links for instructions as to how to complete these crochet stitches.
Round 1:
Step 1.
Make a slip knot, place it on you hook, and make 4 chains.
Step 2.
Make a slip stitch in the fourth chain from your hook (the first chain you made) to join the four chain stitches into a loop.
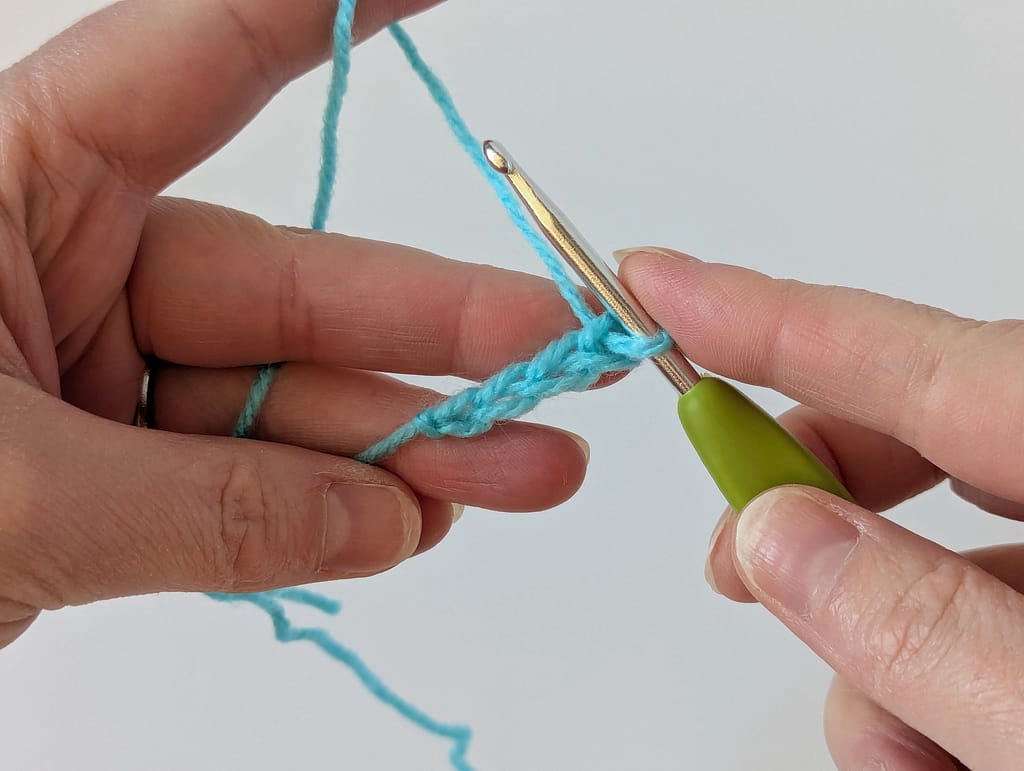
Step 3.
Make three chains – these act as your first Treble crochet stitch (Double crochet stitch in US terms), they can also be called your ‘standing chains’ as they are standing up to act as a stitch.
Step 4.
Make a Treble crochet (double crochet in US terms), in the loop you made with the four chain stitches.
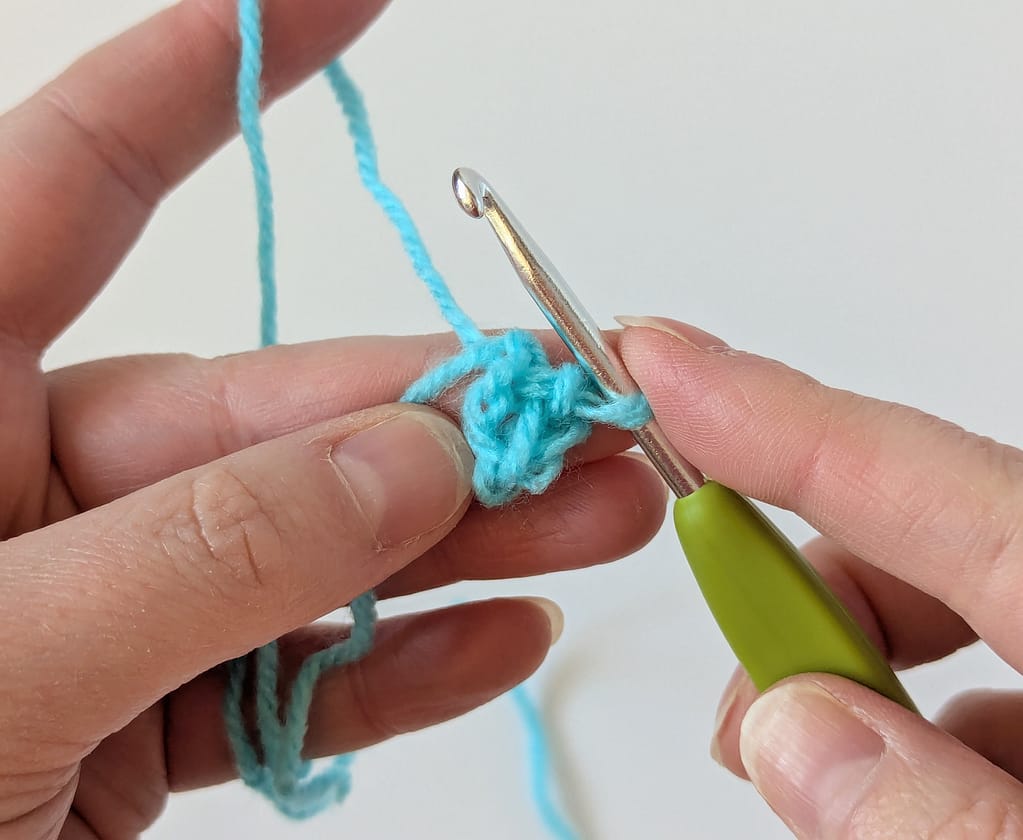
Step 5.
Make one further treble crochet (double crochet in US terms), so you have made three treble crochet (double crochet in US terms) stitches, then make one chain stitch and three more treble crochets (double crochets in US terms) into the original four chain loop.
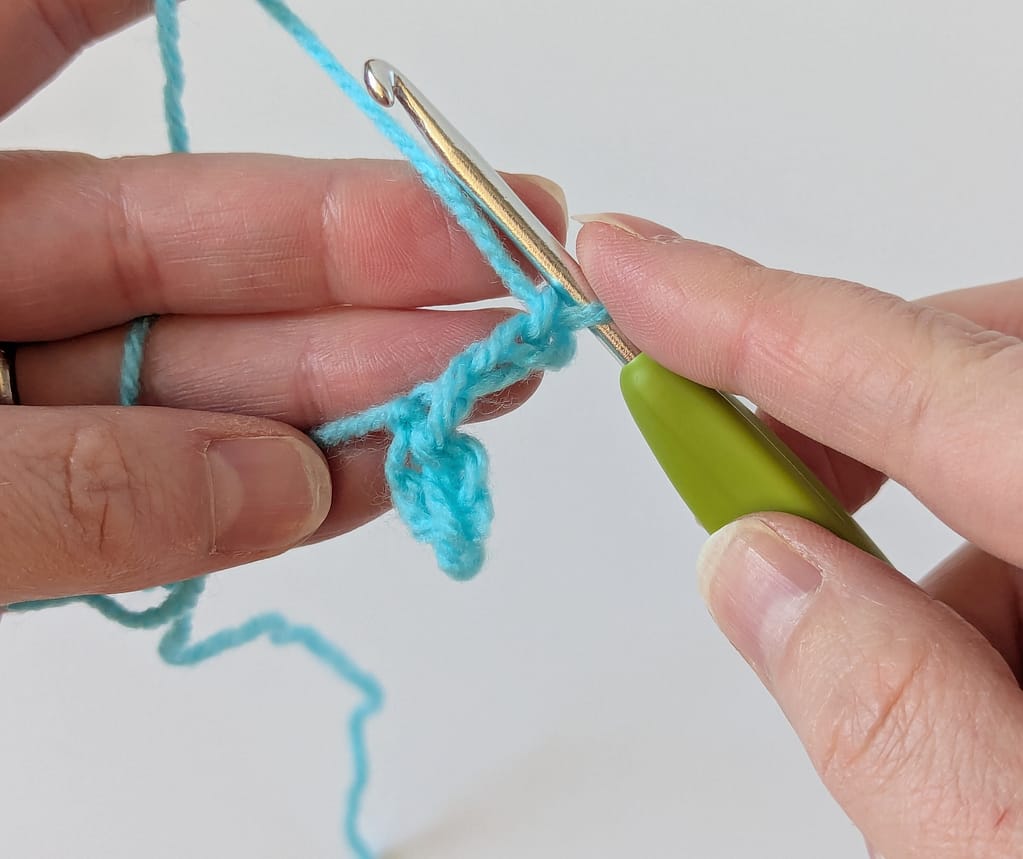
Step 6.
Make another chain and three more treble crochets (double crochets in US terms), and one last chain and another three treble crochets (double crochets in US terms) into the four chain loop.
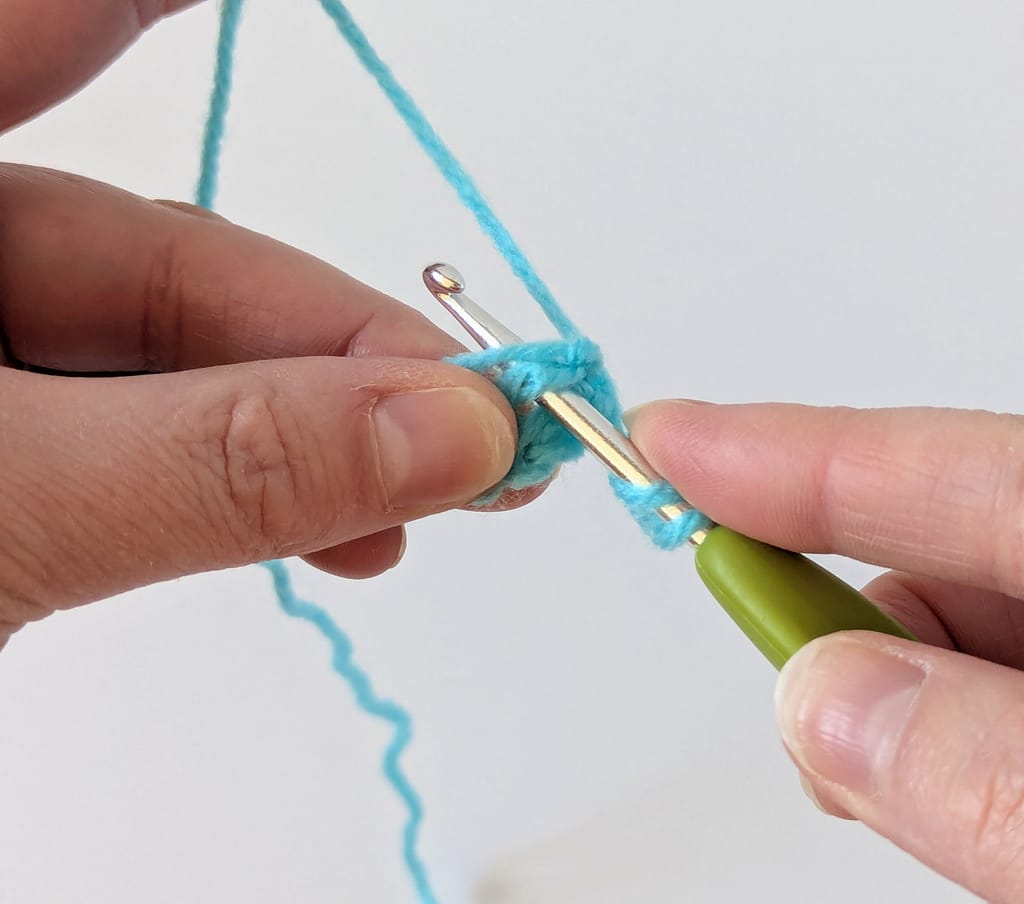
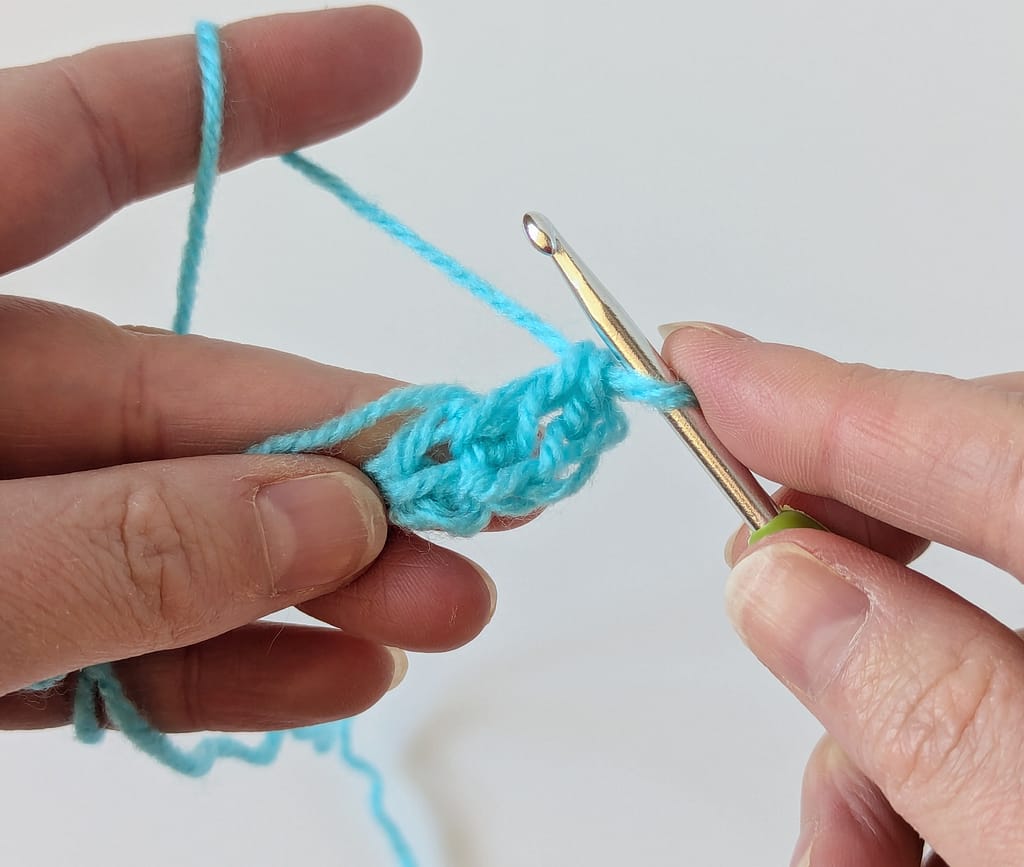
Step 7.
To finish round 1 you need to join the stitches so they make a round. For this granny square we are going to make a double crochet (single crochet in US terms) into the third standing chain (i.e. the third chain made in step 3.
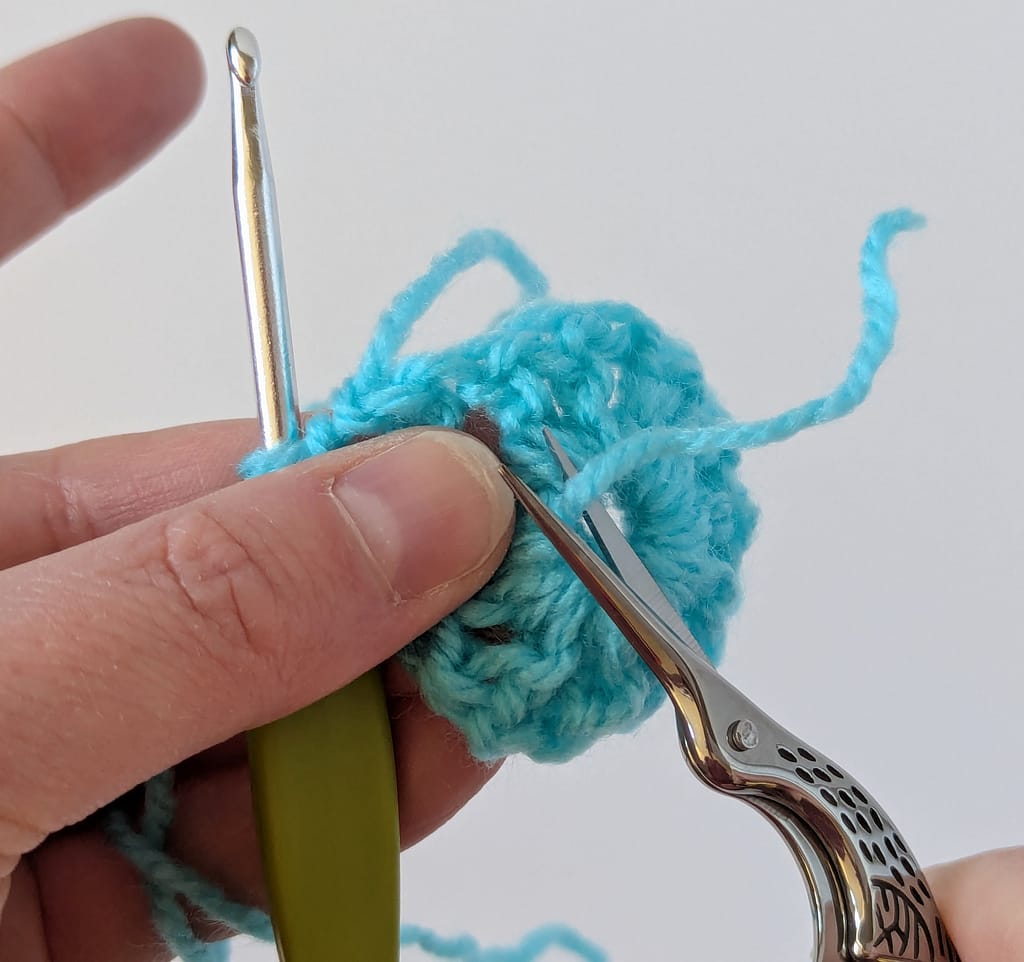
Step 8.
I find this a good point to snip off the yarn tail from the beginning (where you made the first four chain loop).
Round 2
Step 1.
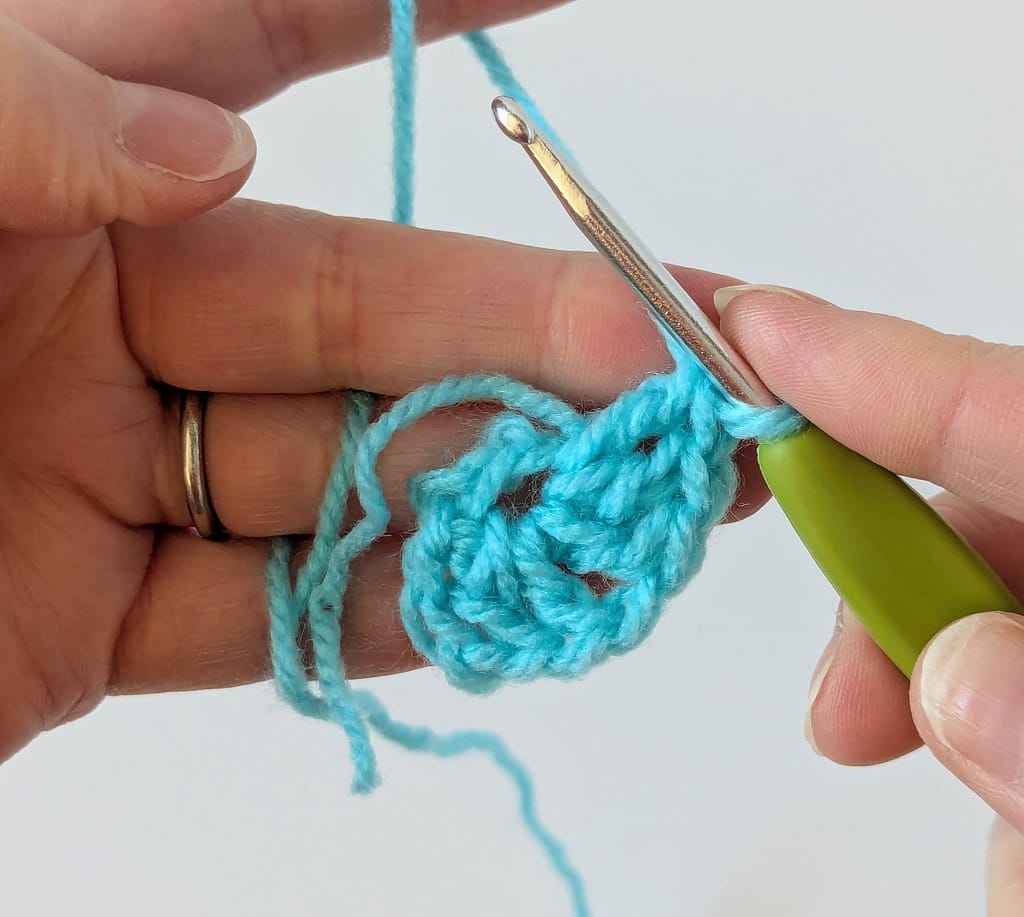
Start round 2 with three chain stitches (again these will act as your first Treble crochet stitch (double crochet US terms).
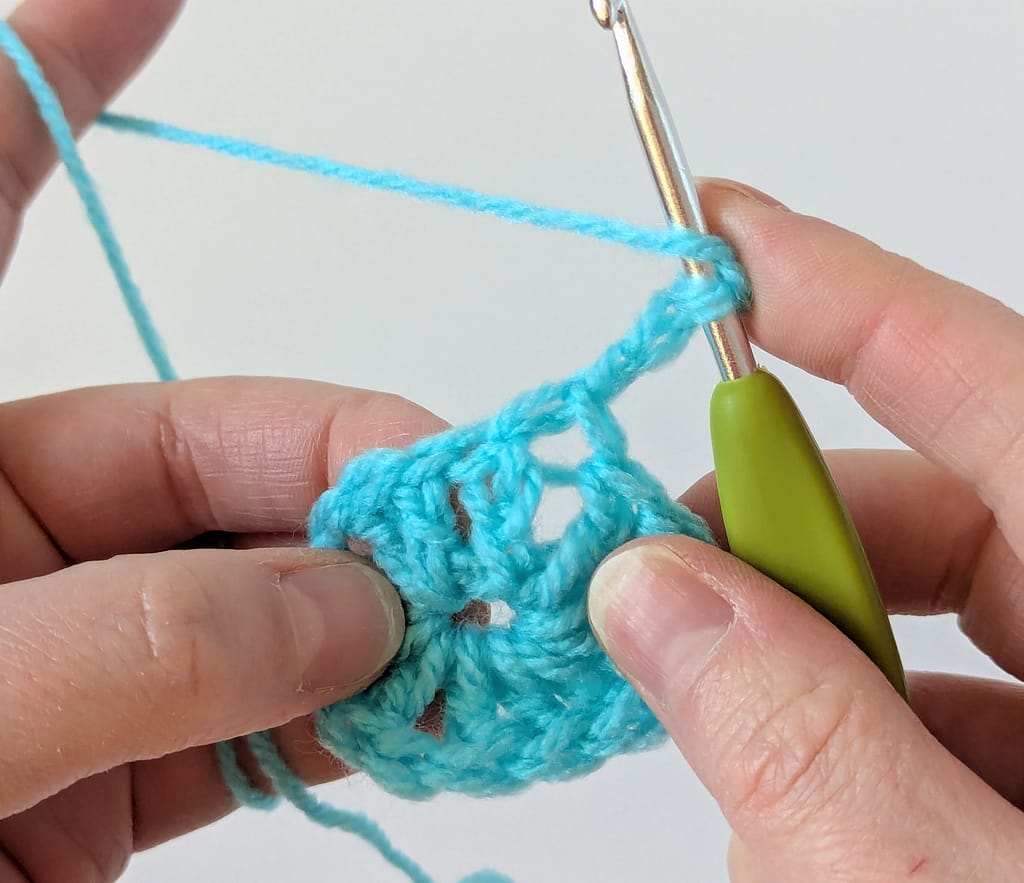
Step 2.
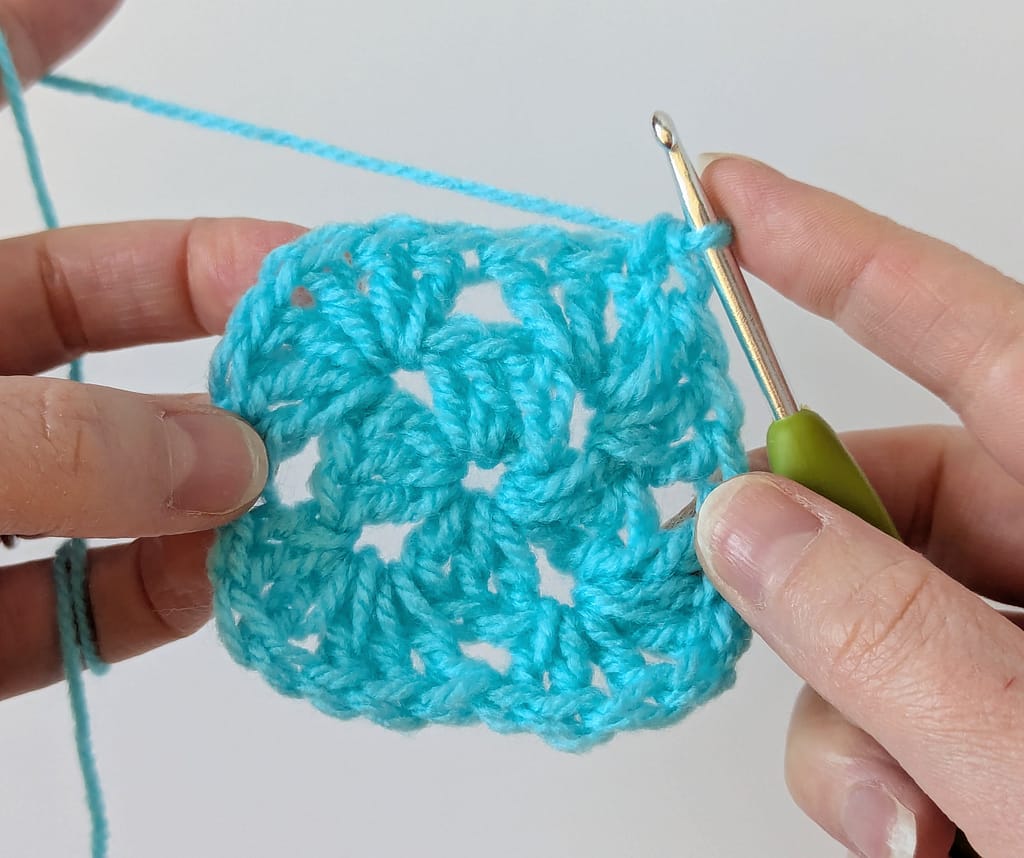
As you finished round 1 with a double crochet stitch (single crochet stitch in US terms), you are going to work your first group of trebles (doubles in US terms), underneath that last stitch from round 1, make your first treble (double US terms) under the bar shown with the arrow, to work into the correct space.
Step 3.
Make another treble crochet (double crochet in US terms) in that same space, so you now have three trebles (doubles in US terms) in that first corner.
Step 4.
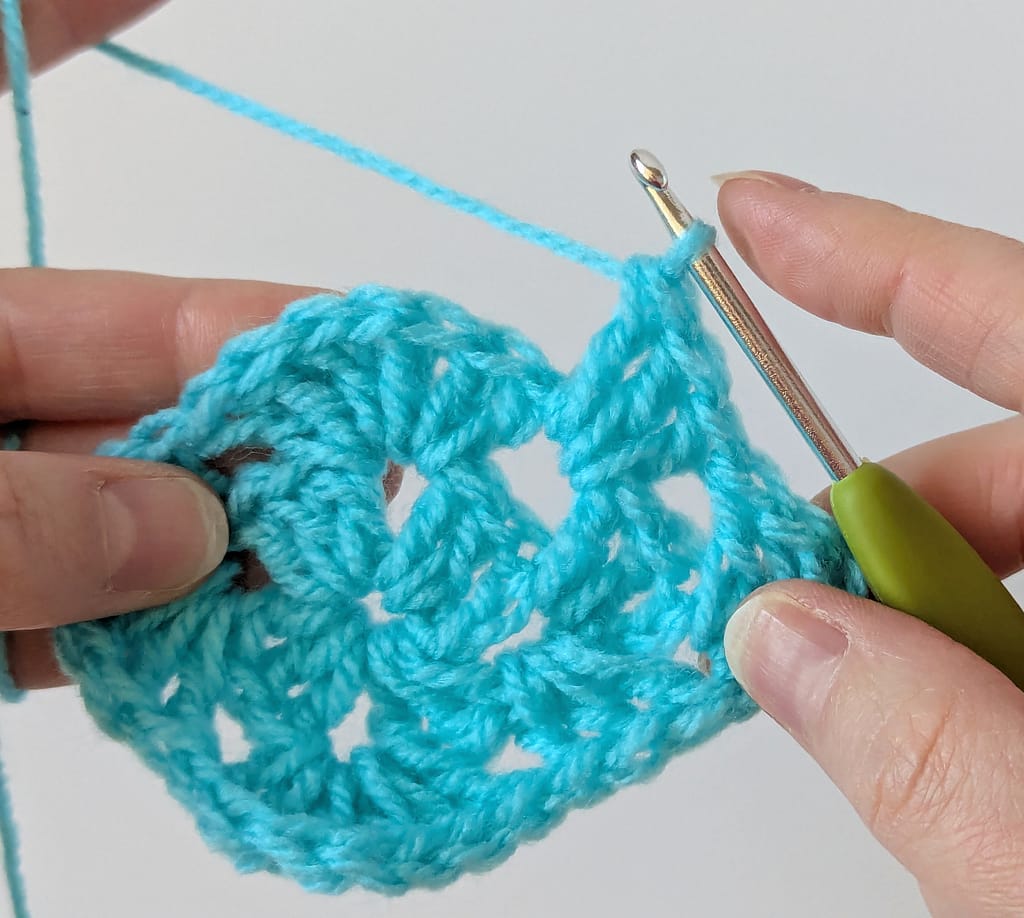
Continue round 2 by working three treble crochets (double crochets in US terms), then one chain stitch and a further three treble crochet (double crochets in US terms) in the next corner space made with the next chain stitch from round 1. Then make the same stitches into the next two corner spaces (all made with the one chain stitches from round 1). Then make a further three treble crochets (double crochets in US terms) in the same space as the first three stitches of round 2.
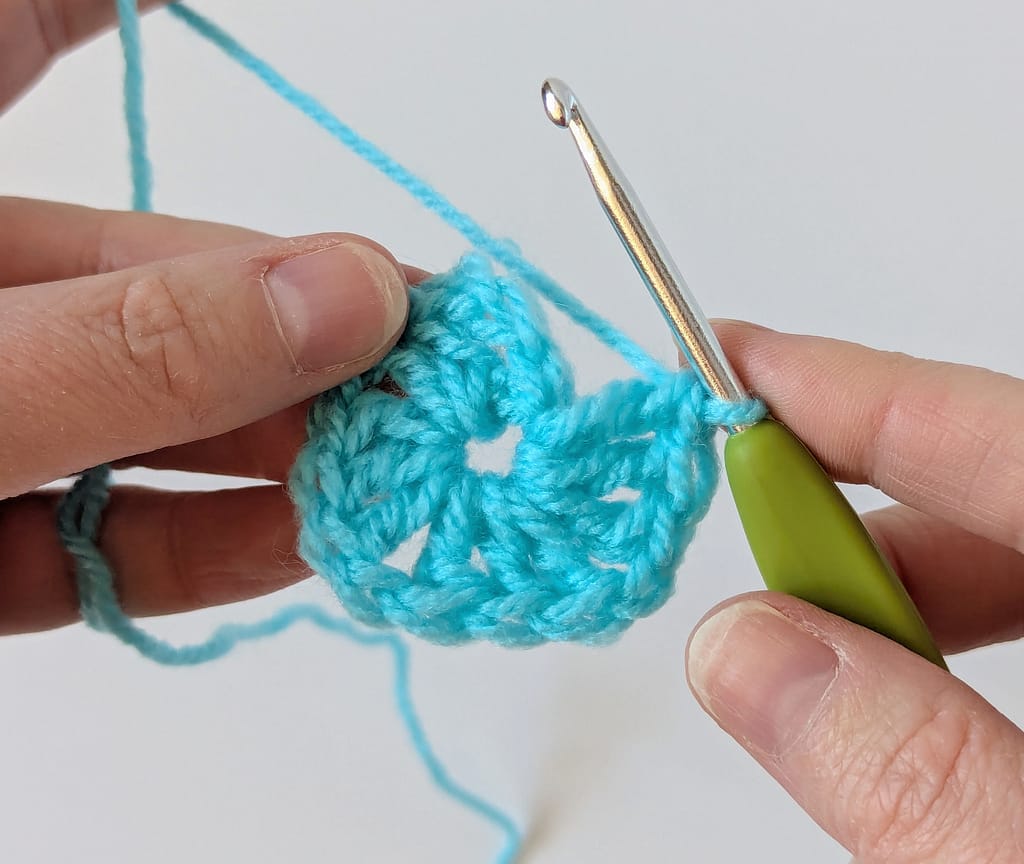
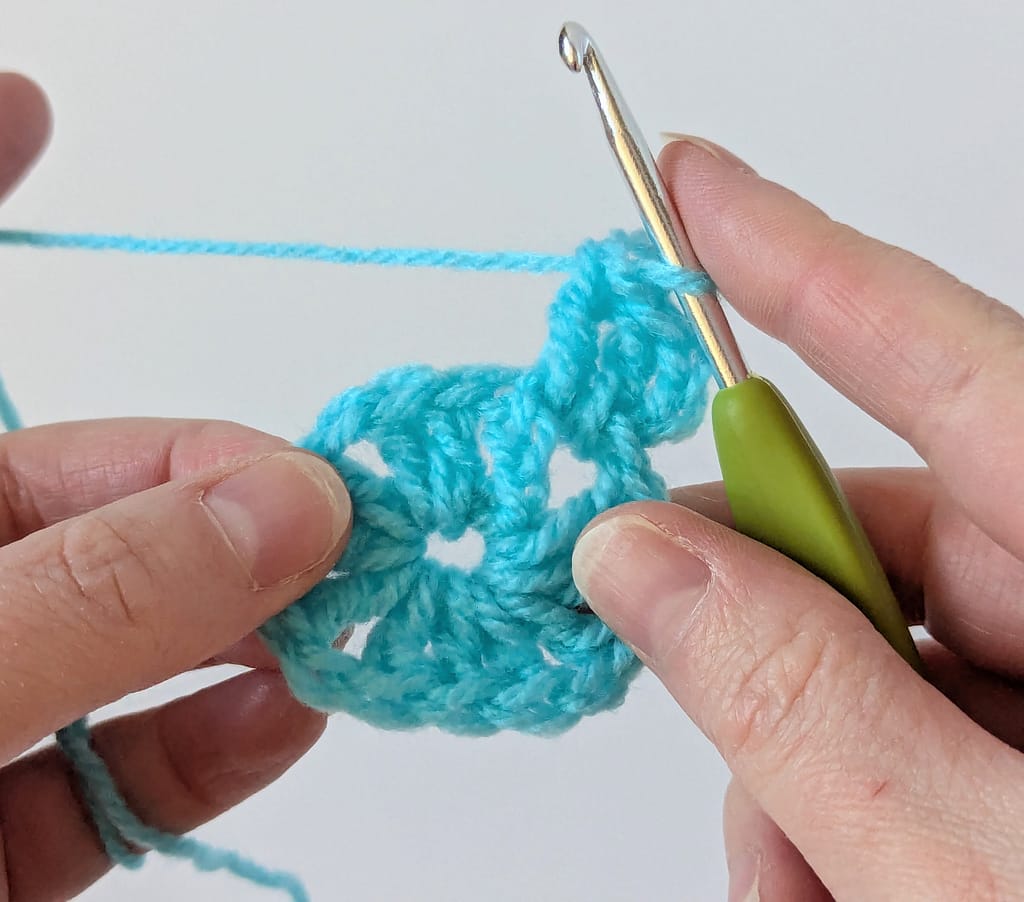
Step 5.
Complete Round 2 by working a double crochet (single crochet in US terms) into that third standing chain from the beginning of round 2, and ta dah round 2 is complete!
You will now be getting into a rhythm of the granny stitches, and rounds 3, 4 and 5 are very similar.
Round 3.
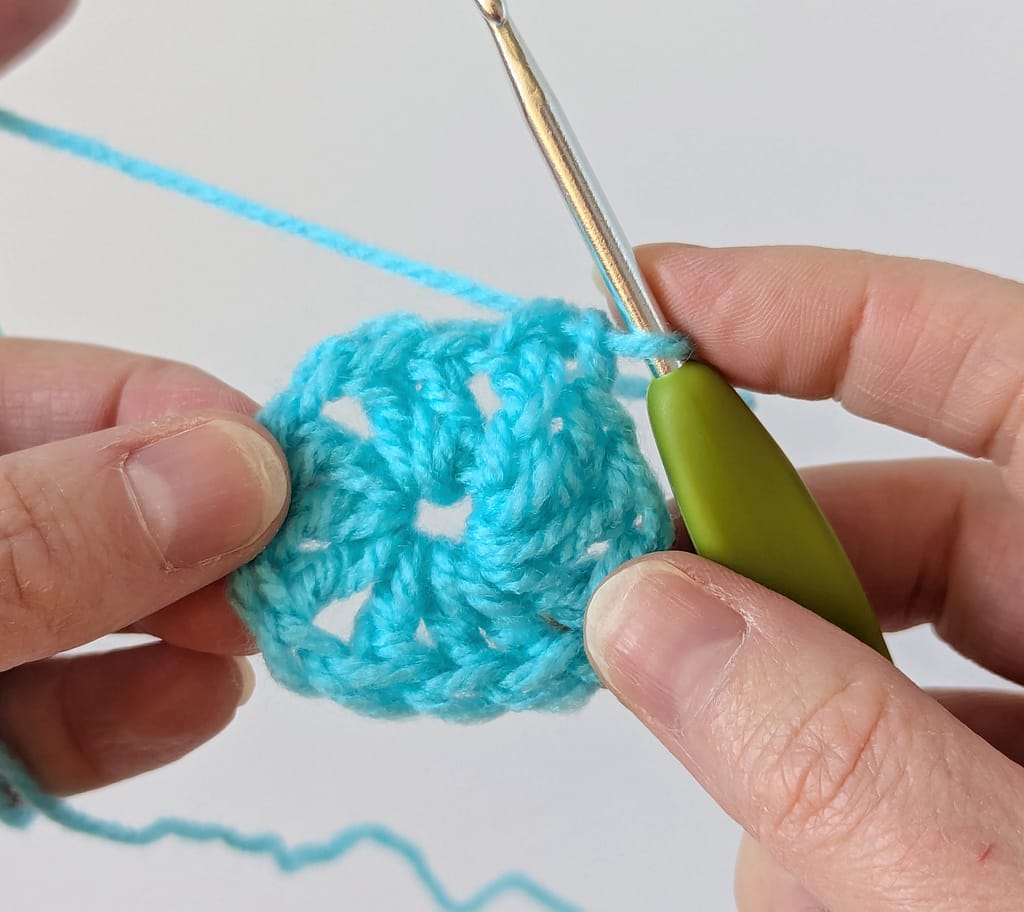
Step 1.
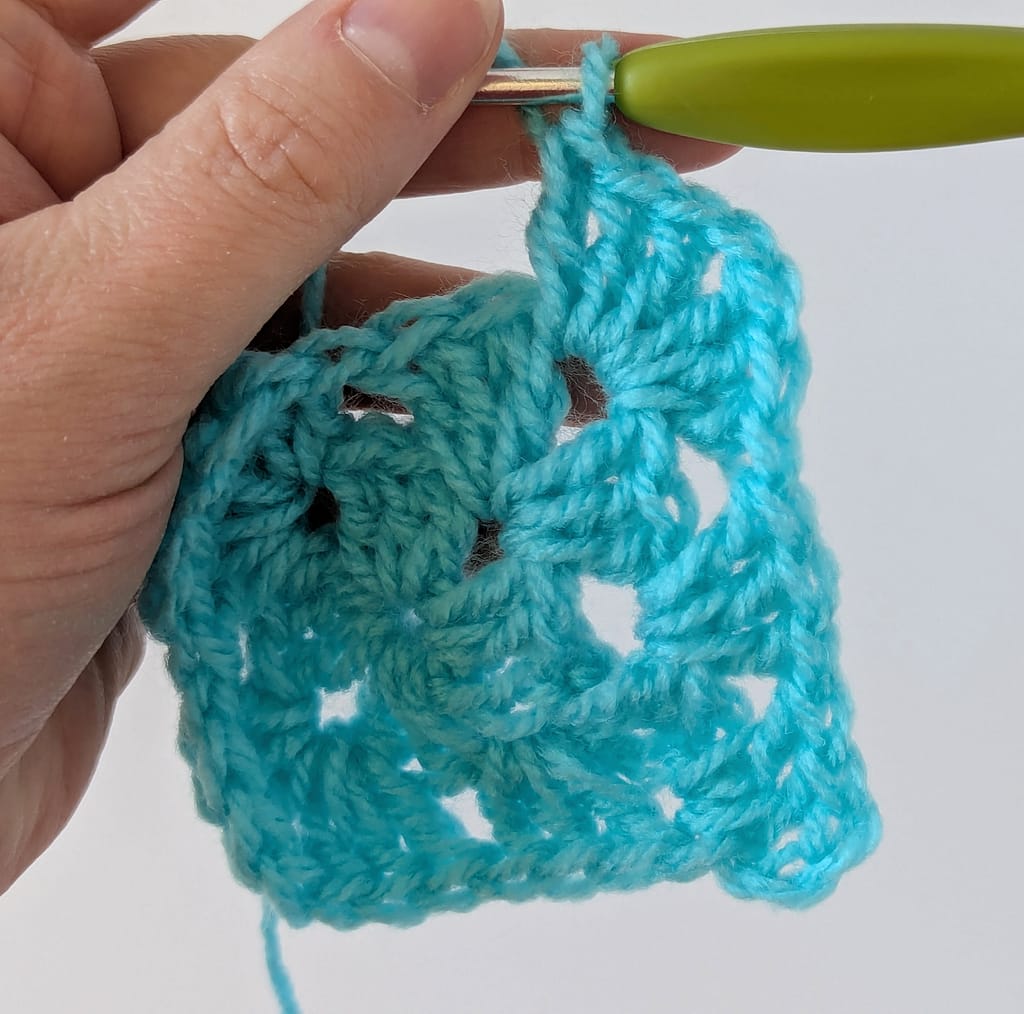
Begin round 3 in the same way as round 2, by working three chain stitches and a further two treble crochets (double crochets in US terms) into that first corner space, but then work the next set of three treble crochets (double crochets in US terms) into the space between the next two groups of three trebles (doubles in US terms).
Step 2.
Then in the same way as round 2, work three trebles (doubles in US terms), one chain stitch and another three trebles (doubles in US terms) into the next corner space (made with the one chain stitch from the round below).
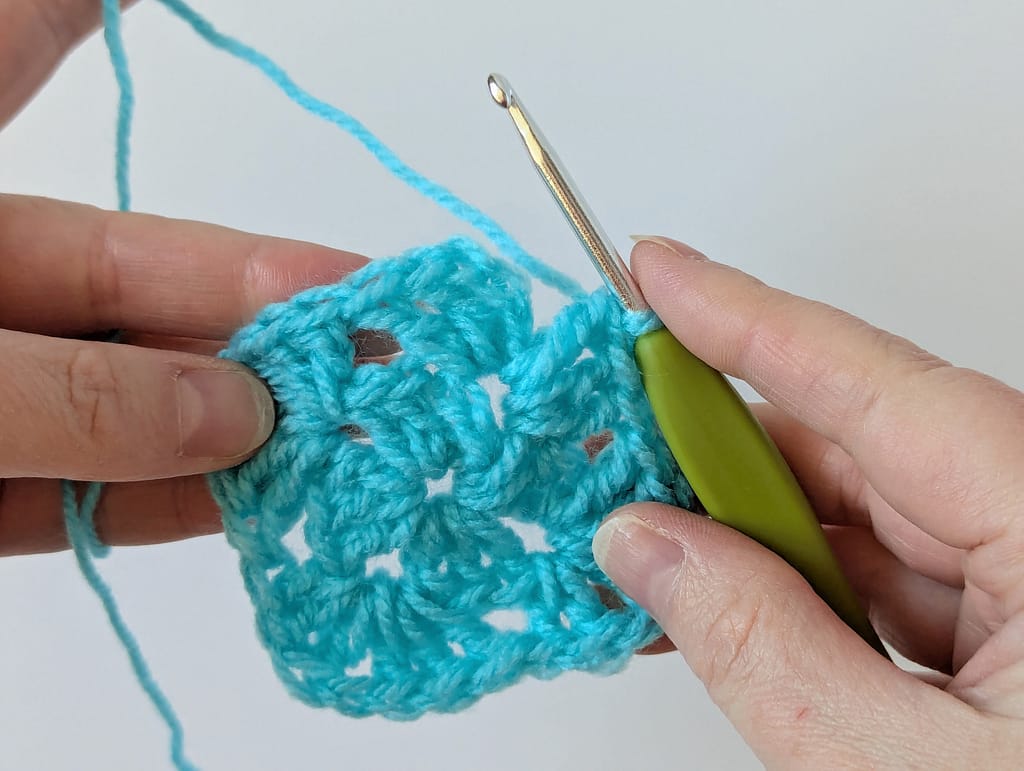
Step 3.
Continue this pattern around the square until you have reached the first space you worked into. Make another three treble crochets (double crochets in US terms) into that first space and again join the round by making a double crochet (single crochet in US terms) into the third chain. Round 3 is complete!
Round 4
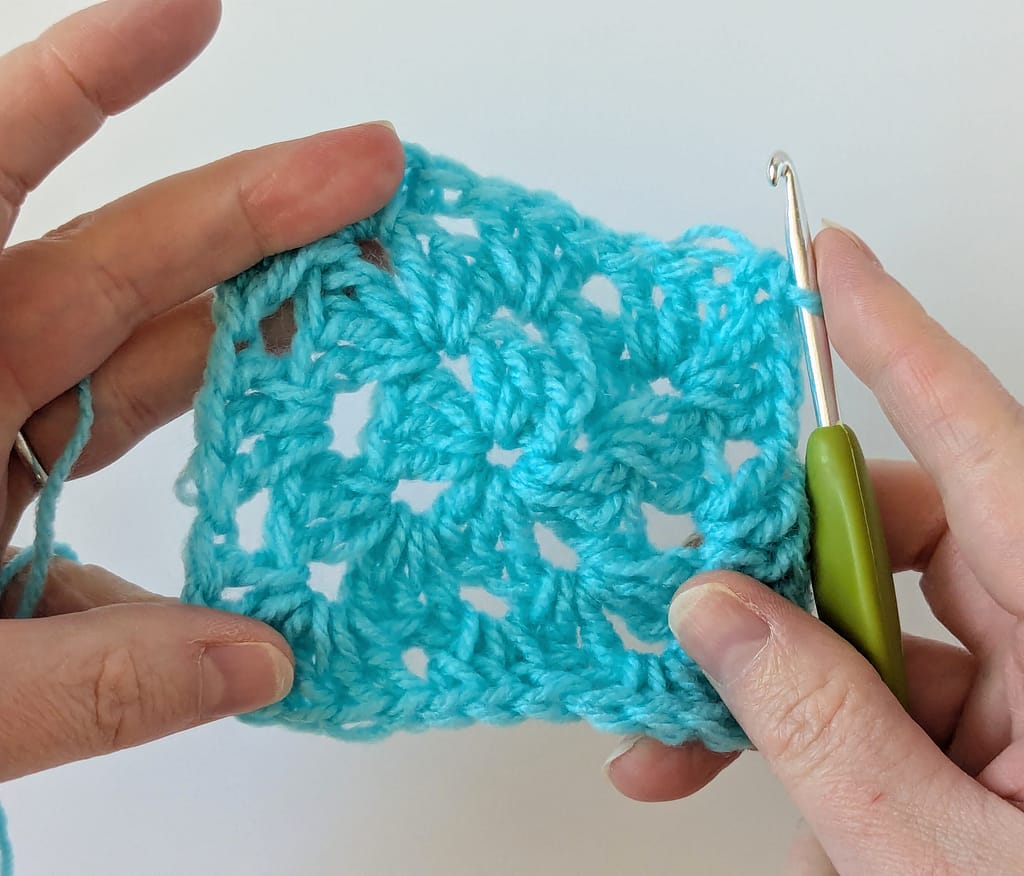
Round 4 is very much the same as round 3, only that you will work an extra group of three treble crochets (double crochets in US terms) along each side between the groups of trebles (doubles in US terms) from round 3, again the round is joined by working a double crochet (single crochet in US terms) into the third standing chain from the beginning of the round.
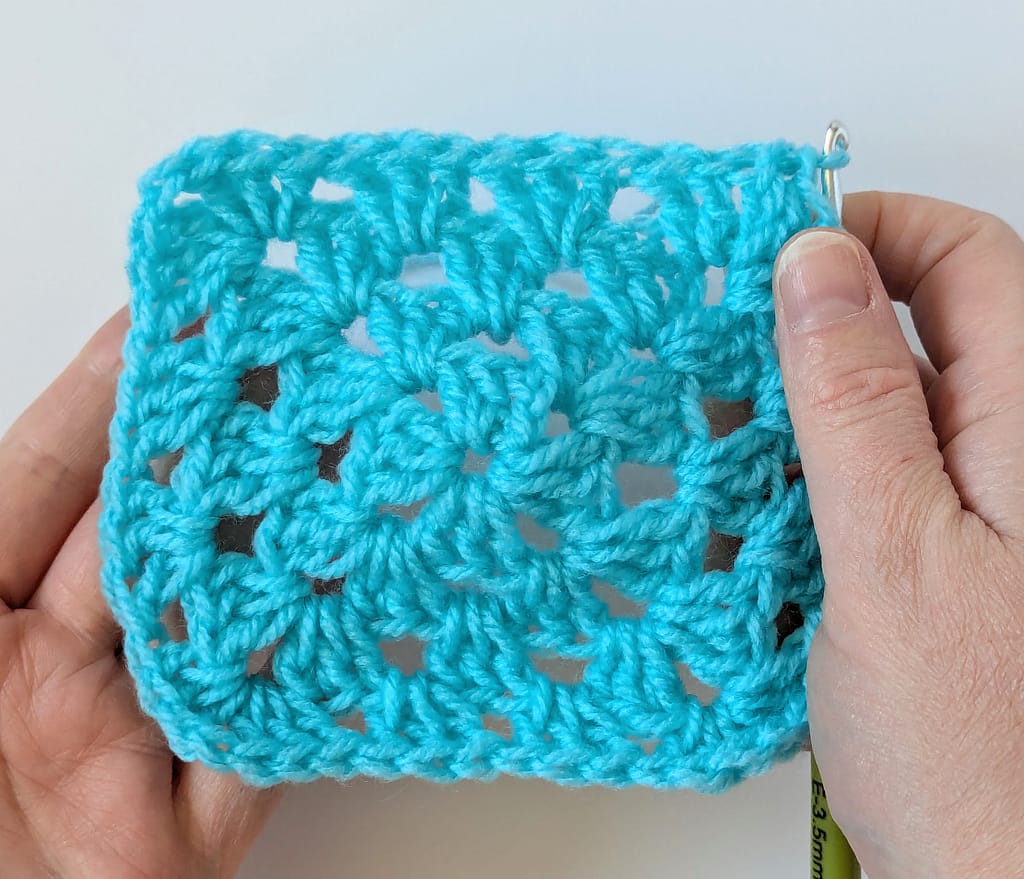
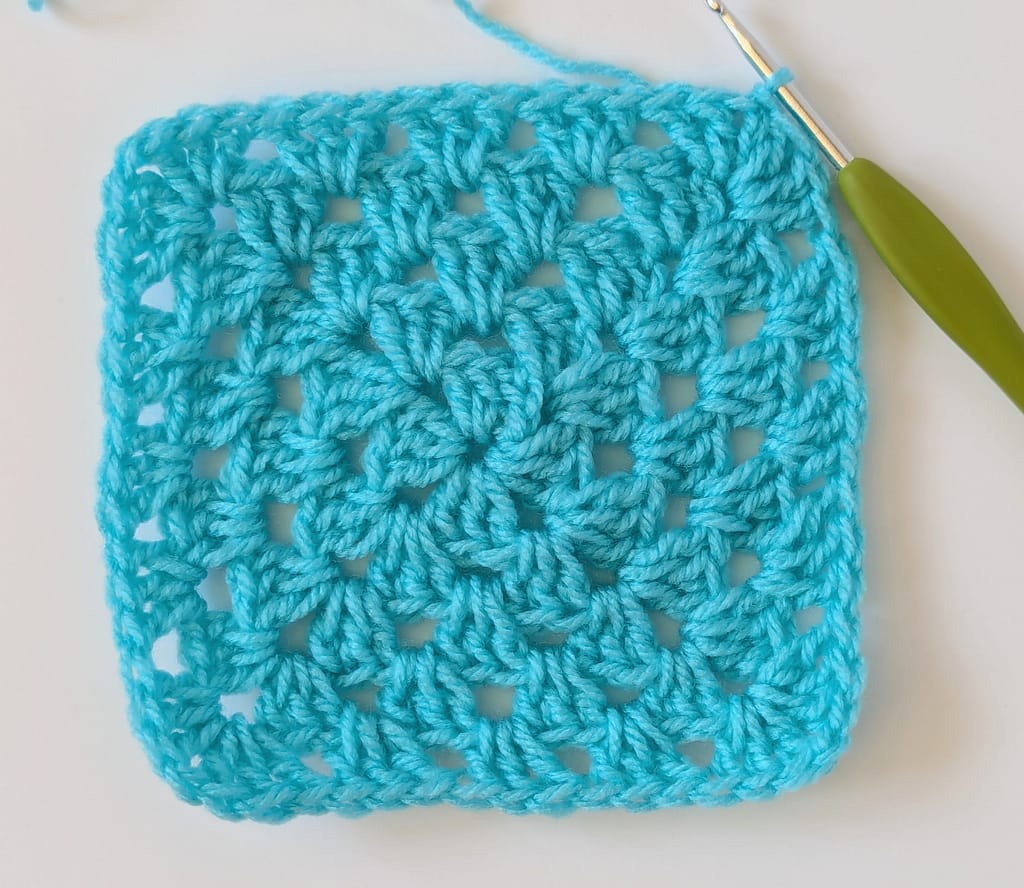
Round 5
You made it to Round 5! Woohoo! Again Round 5 is worked in the same way, with an extra group of granny stitches worked along each side (do you see the pattern now?), I am finishing my square after Round 5 so instead of joining the round with a double crochet (single crochet in US terms) in the third standing chain, I am going to finish the round by working one chain stitch and then slip stitch into that third chain to join, the yarn can then be cut and the last loop pulled through to finish and finally weave that little yarn end in and hey presto! You have a Granny Square!!
You could keep going with the rounds and just continue on and on until you have a massive square (or any size square you want really!), just when you want to finish, remember to end the round with a chain stitch and a slip stitch rather than a double (UK) / single (US) stitch.
I hope you’ve found this helpful! Let me know how you get on!
Happy crocheting!! ❤️